Centering the camera on an object in CAD3D can drastically enhance your design experience, allowing for better visualization and manipulation of 3D models. This article will guide you through the essentials of camera positioning and techniques to effectively center your view within CAD3D.
Understanding the Basics of CAD3D
Before diving into camera techniques, it’s essential to understand the foundational elements of CAD3D. This knowledge will empower you to work more efficiently and achieve the desired results in your designs.
Key Terms and Functions in CAD3D
CAD3D encompasses a variety of technical terms and functionalities. Familiarizing yourself with these will help you navigate the software with ease. Some key terms include:
- Viewport: The window where your model is displayed.
- Camera: The virtual eye through which you view the 3D space.
- Object: Any 3D component within the workspace.
Understanding how these elements interact will lay a solid foundation for camera operation in CAD3D. Furthermore, grasping the significance of layers and groups within your design can enhance your workflow. Layers allow you to organize different components of your project, making it easier to isolate and manipulate specific elements without affecting the entire model. Groups enable you to combine multiple objects into a single entity, simplifying complex designs and streamlining the editing process.
Importance of Camera Positioning in CAD3D
Optimally positioning the camera is crucial for a clear view of your designs. Proper camera alignment allows for precise editing and improved spatial awareness, enabling you to see details that may otherwise be overlooked.
Additionally, accurate camera positioning can assist in presenting your designs to clients or during collaboration sessions, ensuring that you communicate your ideas effectively. The ability to switch between different camera angles and perspectives can also enhance your presentations, allowing stakeholders to visualize the project from various viewpoints. This versatility not only facilitates better understanding but also fosters constructive feedback, ultimately leading to a more refined final product. Moreover, mastering camera controls can significantly improve your efficiency, as you can quickly navigate around your model to examine intricate details or make adjustments on the fly.
Preparing Your CAD3D Workspace
An organized workspace is key to a productive experience. Before you can center the camera on an object, you need to prepare your environment appropriately. This section provides steps to ensure you are set up for success.
Setting Up Your Project
The first step is to create or open a project within CAD3D. Selecting the right template or file type aligned with your project goals is vital.
Additionally, configuring your project settings, such as units of measurement and grid visibility, can enhance your working environment, making it easier to manipulate objects and adjust camera settings later on. It’s also beneficial to familiarize yourself with the software’s interface and shortcuts, as this knowledge can significantly speed up your workflow. Consider customizing your toolbar to include frequently used tools, which can help streamline your design process and reduce the time spent searching for specific functions.
Importing and Positioning Your Object
After setting up your project, the next step is to import the object you wish to work with. CAD3D supports various file formats, allowing for easy integration of different 3D models.
Once imported, ensure your object is correctly positioned within the workspace. A well-placed object aids in successful camera centering and eliminates unnecessary adjustments later in the process. Take advantage of the alignment tools available in CAD3D to snap your object into place accurately. Additionally, consider utilizing layers to organize different components of your project effectively; this practice not only keeps your workspace tidy but also makes it easier to manage complex designs. By grouping related elements, you can quickly toggle visibility and focus on specific areas of your project without distraction.
Techniques for Centering the Camera on an Object
Once your workspace is ready, you can begin centering the camera. There are multiple techniques available in CAD3D that cater to different user preferences. Here are some effective methods.
Using the Centering Tool
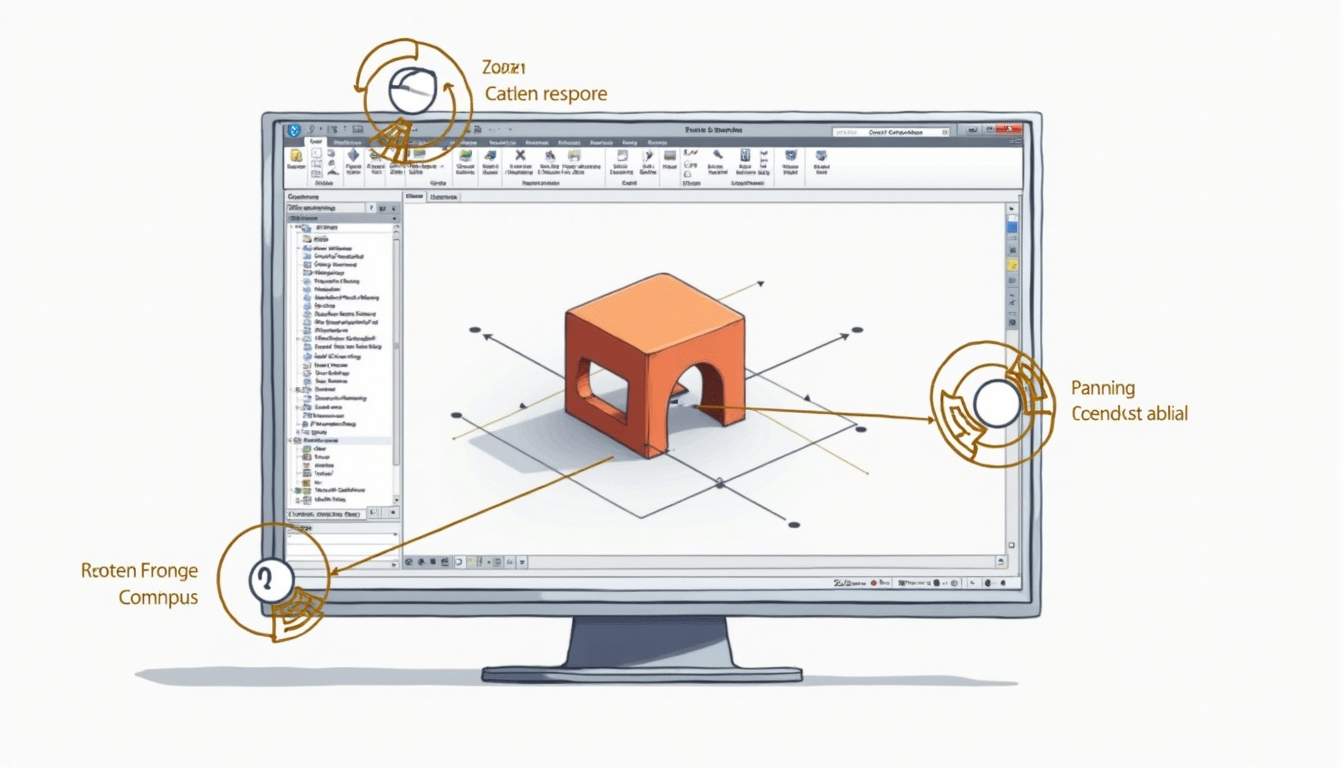
Most CAD software, including CAD3D, features a dedicated centering tool. This tool automates the process, instantly adjusting the camera to focus on the selected object.
To use it, simply select the object you want to center on and activate the centering tool, usually found in the tools or view menu. This method is fast and efficient, ideal for users looking for immediate results. Additionally, the centering tool often includes options for adjusting the field of view, allowing users to customize how much of the surrounding area is visible while focusing on the object. This can be particularly beneficial when working on complex assemblies or when you want to maintain context within the design.
Manual Camera Adjustment for Precise Centering
If you require more control over the camera angle and zoom level, manual adjustment allows for precise centering. This can be performed using various navigation controls.
Use your mouse or touchpad to pan, tilt, and zoom until you achieve the desired viewpoint. This method is especially useful when needing to focus on specific details of the object being worked on. Moreover, many CAD programs offer keyboard shortcuts that can enhance this process, enabling quicker transitions between different views. For instance, holding down specific keys while adjusting the mouse can lock the camera’s position or allow for smoother transitions, making it easier to navigate around intricate designs without losing sight of critical features.
Furthermore, some CAD applications provide a grid or guideline overlay that can assist in aligning the camera with the object more accurately. This feature can be particularly useful when working with symmetrical designs or when you need to ensure that the object is perfectly centered in your viewport. By leveraging these tools and techniques, users can enhance their workflow and achieve more professional-looking results in their projects.
Troubleshooting Common Issues
While centering the camera may seem straightforward, several common issues can arise. Being prepared to troubleshoot these problems can save you time and frustration.
Dealing with Off-Center Objects
Sometimes objects can appear off-center due to misalignment during import or editing. If this happens, first check the object’s origin point. Adjust it if necessary to ensure it aligns with your intended focus.
If the object remains off-center, you may need to reposition it within the CAD3D workspace before reattempting to center the camera. Additionally, consider examining the layers and groups in your project. Sometimes, objects may be nested within groups that are themselves misaligned, which can complicate the centering process. By isolating the object and ensuring that all parent layers are also correctly aligned, you can achieve a more accurate placement.
Correcting Camera Drift in CAD3D
Camera drift occurs when the camera moves unintentionally. This can happen due to unintentional clicks or interference from other settings. To correct this, check your mouse settings and sensitivity.
Re-centering the camera can also help. If the problem persists, consider resetting the camera settings to restore functionality. Moreover, it’s beneficial to familiarize yourself with the keyboard shortcuts and navigation controls specific to CAD3D. Mastering these can enhance your control over the camera and reduce the likelihood of drift. If you find that drift continues to be an issue, you might also want to explore whether any plugins or additional features are affecting your camera’s stability, as these can sometimes introduce unexpected behavior into your workflow.
Optimizing Your CAD3D Experience
To make the most out of your CAD3D sessions, it’s helpful to implement optimization strategies. This can lead to smoother navigation and improved efficiency. A well-optimized workspace not only enhances your productivity but also allows for a more enjoyable design experience, reducing frustration and increasing your creative flow.
Additional Tools for Enhanced Precision
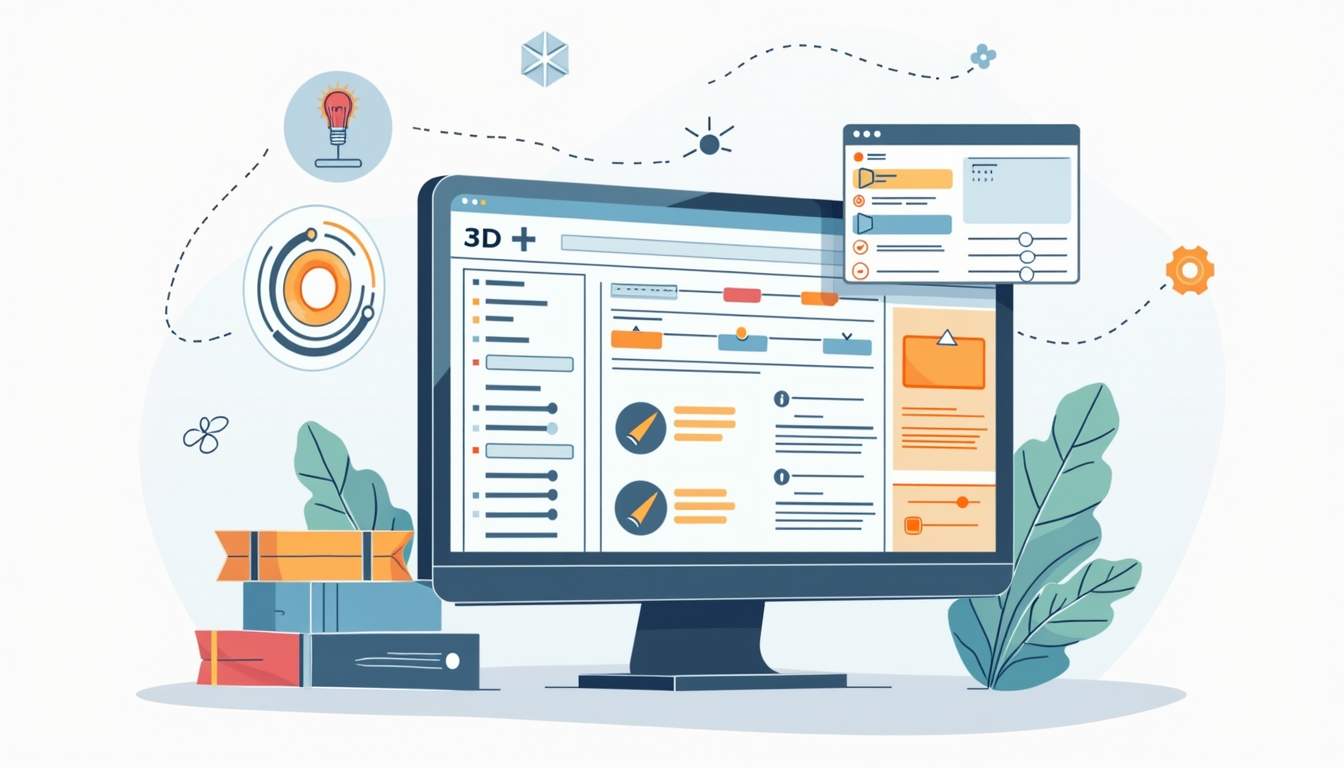
Beyond basic camera centering, CAD3D offers additional tools designed to enhance precision. Utilizing features such as snapping and alignment tools can help you attain better accuracy while manipulating camera views or object placements. These tools are particularly useful when working on complex designs where even minor misalignments can lead to significant issues down the line.
Also, consider using grid overlays or guidelines, which can aid significantly during the visualization process. These visual aids can help you maintain consistent spacing and alignment throughout your project, ensuring that every element is placed exactly where it needs to be. Furthermore, exploring the software’s customizable settings can allow you to adjust these tools to better fit your specific workflow and preferences.
Tips for Efficient Camera Navigation
Efficient camera navigation involves learning shortcuts and familiarizing yourself with the software’s interface. For instance, utilizing keyboard shortcuts for zooming and panning can greatly enhance your workflow. Additionally, mastering the use of the mouse or trackpad gestures can provide a more fluid experience, allowing you to navigate your 3D space with ease.
Developing a habit of regularly resetting the camera can keep your viewpoint fresh and allow you to catch any overlooking design details. It’s also beneficial to create saved camera positions for frequently viewed angles, which can save time and streamline your design process. By understanding the basics, preparing your workspace, utilizing effective centering techniques, troubleshooting possible issues, and optimizing your experience, you will find that centering the camera on an object in CAD3D becomes intuitive and significantly improves your overall modeling capabilities. Engaging with community forums and tutorials can further enhance your skills, as you learn from the experiences and tips shared by other CAD3D users who have navigated similar challenges in their projects.
