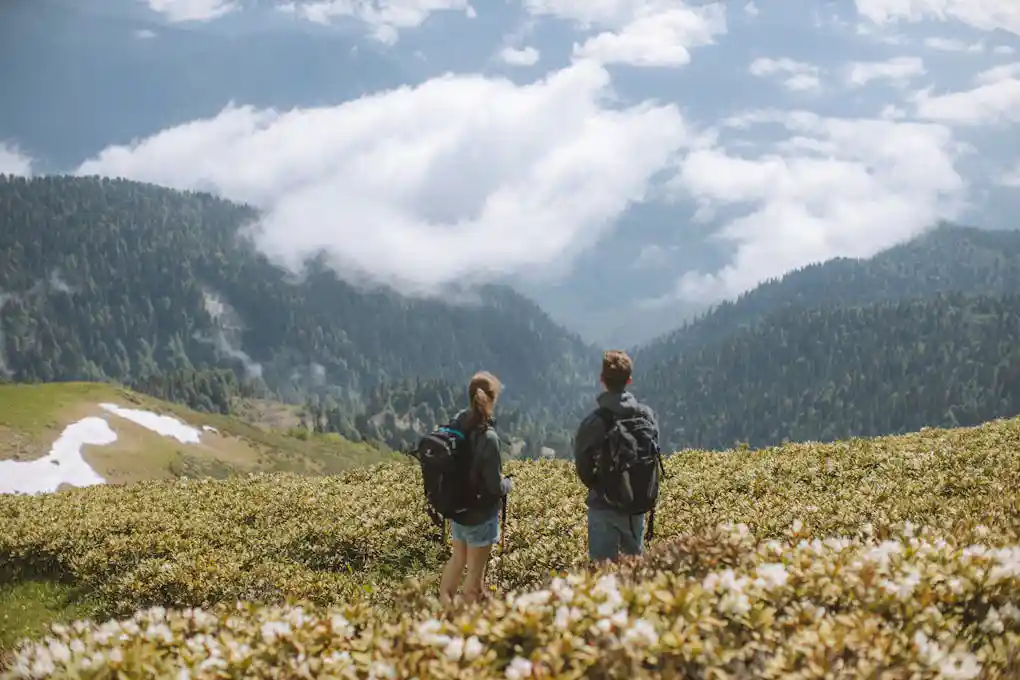
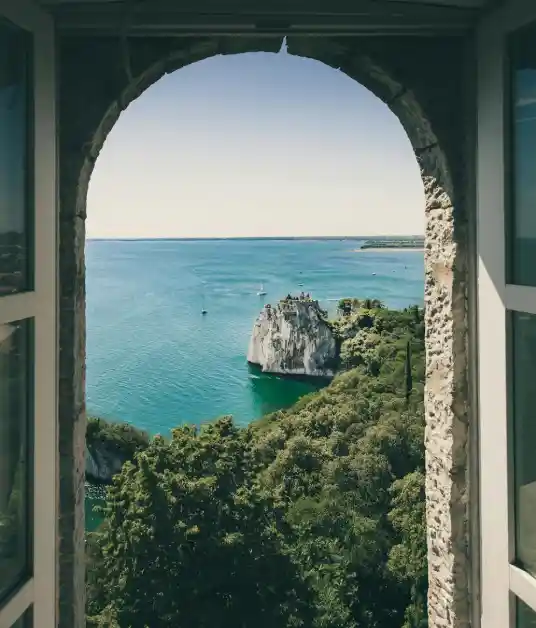
Do you ever wonder how some people make their pictures look so good online? Their photos are bright, sharp, and full of life, while yours might look plain or dull.
The secret often isn’t in the camera. It’s in how they edit their pictures after taking them. You don’t need to be a pro or spend a lot of money. You can master image editing with ease!
This blog will show you smart tips on using free online editors to improve your photos, make creative designs, and boost your visuals-even if you’re just starting out.
The Power of Free Online Editors
Online editors have changed how people edit images. Years ago, you had to download heavy software. Now, you can open your browser and start editing. These tools are fast, easy, and don’t take up space on your device.
Many websites let you crop, add text, or fix lighting with just a few clicks. You don’t need to be a graphic designer to get great results.
Most free editors are made for beginners. Their layout is simple, and they often have ready-made tools or templates to help you begin quickly.
Learning the Basics is the First Step
Before you get fancy, it’s important to know the basics. Start by learning how to crop a photo. Cropping helps you remove things you don’t want in the frame.
Then learn to change brightness and contrast. These tools help you make dark photos look lighter and more balanced. Try changing the sharpness too.
It can make your photo clearer. Once you’re comfortable with these, you’ll feel ready to try more tools. Every expert started with the basics, and you should too.
Use Filters and Effects Wisely
Free online editors often offer filters. These are preset looks you can apply in one click. Some filters make your photo look vintage, while others make colors pop. But don’t use too many filters.
Too many changes can make a photo look fake. Use them to enhance, not hide. The best edits are the ones that still look natural.
Play around and see which filter fits your photo best. You’ll soon get a feel for what works and what doesn’t.
Fixing Small Problems Makes a Big Difference
Sometimes a great photo has small problems. Maybe there’s red-eye, a spot on the wall, or something in the background you didn’t notice. Free tools often have a retouch or healing tool.
These help you fix small mistakes easily. You don’t need to delete the photo. You can clean it up in just a few steps. This part of editing is great because it lets you save a good picture instead of losing it.
Add Text and Graphics for More Impact
If you want to turn your photo into a design, many editors let you add text or shapes. You can make birthday cards, flyers, or simple posts for social media. Just click on the text tool, type your message, and change the font or color.
You can also move the text around until it looks just right. Graphics, stickers, and icons are fun to use too. Just remember, less is more. A few nice touches are better than too many items all over the photo.
Resize Your Image for Different Uses
Different platforms need different sizes. A photo for a Facebook cover is not the same size as an Instagram post. Free editors let you resize your photo so it fits wherever you want to post it.
This tool is important if you share your work online. If the photo is too big, it might not load well. If it’s too small, it might look blurry. Resizing keeps things clear and clean. It helps your pictures look their best on every screen.
You can also use preset sizes that some editors offer for YouTube, LinkedIn, or Pinterest. These presets save time and help you avoid guessing the right size. With the right size, your posts will look more professional and stand out better.
Edit Photo Online and Save Time
One of the best parts of free web tools is how fast they are. If you want to quickly change a photo for school, a blog, or social media, you can just open a browser and edit photo online.
There’s no waiting for software to install or update. Everything happens in real time. Plus, you don’t have to worry about saving huge files.
Many editors let you download your image in the right format and size with no trouble.
Save and Export Your Work Correctly
Once you finish your edit, you need to save it, right? Most editors give you choices for file type and size. If you’re posting on the web, use JPEG or PNG. These load fast and look good.
Some editors also let you save your project so you can go back and change it later. This is helpful if you want to try new styles or fix something later. Always name your files clearly so you can find them easily again.
Practice Makes You Better Over Time
At first, editing can feel slow. You may not know which tool to use or how to fix something. But like any skill, the more you practice, the easier it gets. Try editing different kinds of photos.
Work with bright outdoor shots, dark indoor ones, or fun selfies. You’ll learn how to handle many styles.
With time, you’ll start to see what makes a photo good and how to improve it. Don’t be afraid to try new things. The best way to learn is by doing.
Learn From What Others Are Doing
Many free editors also have online communities or ideas you can explore. Some show you how others have edited their photos. These are great for getting new ideas.
You can learn what tools they used or what colors they picked. Try copying the style of photos you like, then put your own twist on it.
Over time, you’ll develop your own look. That’s when editing really gets fun.
Your Image Editing Journey Starts Now
Now that you know how easy and fun editing can be, why not start today? Free online editors give you everything you need to get started. You don’t need a fancy camera or expensive tools.
Just your photos, a few minutes, and some creativity. With a little practice, you’ll be fixing photos, making designs, and sharing better content in no time. Your editing skills will grow each time you try something new.
Did this guide help you? Browse the rest of this section for more advice on a variety of topics.