Blender is an immensely powerful tool for 3D modeling and animation. Among its many features, the grid in the camera view is an essential component that can significantly enhance your workflow. In this article, we will explore the importance of the grid in Blender, the interface layout, and provide you with a comprehensive guide to displaying the grid in the camera view. We’ll also troubleshoot common issues and provide tips for efficient use.
Understanding the Importance of Grid in Blender
The grid system in Blender serves multiple purposes that cater to both novice and advanced users. It provides a structural foundation for your scenes and models, giving a visual reference that is indispensable during the modeling and animation processes.
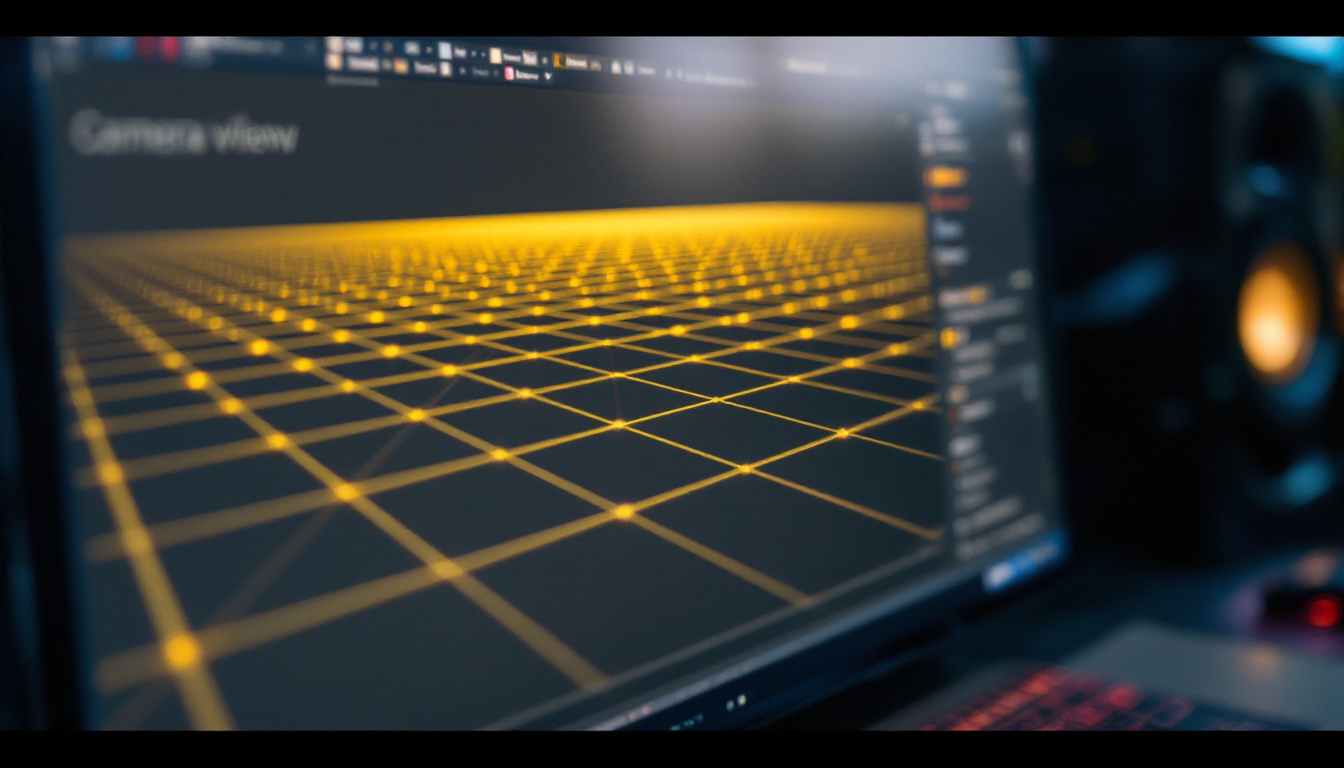
When working with three-dimensional objects, maintaining correct proportions and alignments is crucial. The grid acts as a guide to achieve this precision. Visualizing your work in relation to the grid allows you to maintain consistency and balance throughout your project.
Enhancing Precision with Grid
One of the most significant advantages of using a grid is the enhancement of precision in your modeling efforts. It allows you to accurately place objects in the 3D space, aligning them perfectly with one another. This precision is especially vital when you are creating complex models with numerous components.
By snapping vertices to the grid, you can speed up your workflow and minimize the need for time-consuming adjustments later. The grid helps keep elements in harmony, ensuring that the perspective remains coherent across multiple frames in an animation.
Moreover, the grid can be customized to suit your specific needs. You can adjust the scale, spacing, and visibility of the grid lines, allowing for a tailored experience that aligns with the complexity of your project. This flexibility means that whether you’re working on a small, intricate model or a large, expansive environment, the grid can adapt to provide the necessary support for your creative process.
Grid for Better Composition and Layout
In terms of composition, the grid helps artists visualize and structure the elements of their scene more effectively. It aids in framing your shots, ensuring that your compositions are balanced, proportionate, and visually appealing.
Additionally, the grid provides a structured way to analyze the layout of larger scenes. By breaking down the components into smaller sections, you can more easily manage the environmental design, character placement, and lighting arrangements. The grid becomes not just a tool, but a necessity for thoughtful design.
Furthermore, using the grid can significantly enhance your understanding of spatial relationships within your scene. By leveraging the grid, you can experiment with different layouts and compositions without the fear of losing track of your original vision. This capability allows for greater creativity and exploration, as you can make adjustments on the fly, ensuring that every element contributes to the overall narrative of your project. The grid, therefore, becomes an essential ally in the artistic process, fostering both precision and creativity in equal measure.
Getting Started with Blender Interface
Before diving into the specifics of displaying grids in camera view, it’s essential to become familiar with the Blender interface. A united understanding of the layout enhances your ability to work quickly and efficiently.
Blender’s interface is built around several key areas such as the 3D view, timeline, and various toolbars. Each section plays a specific role in your overall workflow, and understanding how to navigate these sections is crucial for both beginners and experienced users alike. The layout is highly customizable, allowing users to arrange panels and windows according to their preferences, which can significantly improve productivity. Additionally, Blender’s interface supports multiple workspaces tailored for different tasks, such as modeling, sculpting, and animation, making it easier to switch contexts as your project evolves.
Familiarizing with Blender’s Camera View
The camera view in Blender offers a unique perspective of your 3D scene, allowing you to see what will be rendered. It’s essential to know how to switch between this view and the standard perspective view to maximize productivity.
To enter camera view, simply press the Numpad ‘0’. This quick toggle makes it easier to visualize your project from the final rendering perspective. Familiarizing yourself with this function helps maintain a clearer overview of how your designs will look once completed. Moreover, adjusting the camera’s position and focal length can dramatically change the composition of your scene. Understanding how to manipulate these settings within the camera view allows for greater creative control, enabling you to experiment with different angles and framing to achieve the best visual storytelling.
Navigating Through Blender’s Tools and Settings
Blender is equipped with a plethora of tools and settings which can be overwhelming at first. It is vital to explore and practice using these tools to enhance your skills over time. You can access settings for rendering, shading, and object manipulation through various menus and panels.
Setting up your preferences responsibly will create a smoother workflow. With practice, navigating through settings will become second nature, allowing you to focus more on your creative processes rather than technical difficulties. Additionally, Blender’s extensive community and documentation provide valuable resources for learning shortcuts and tips that can streamline your workflow. Engaging with tutorials and forums can also introduce you to advanced techniques and workflows that can elevate your projects, ensuring that you’re not just familiar with the basics but are also equipped to tackle more complex challenges as you progress in your Blender journey.
Step-by-Step Guide to Show Grid in Camera View
Displaying the grid in the camera view can be accomplished easily through a series of straightforward steps. This feature might not be immediately apparent; however, following a detailed guide can help you enable and customize it effectively.
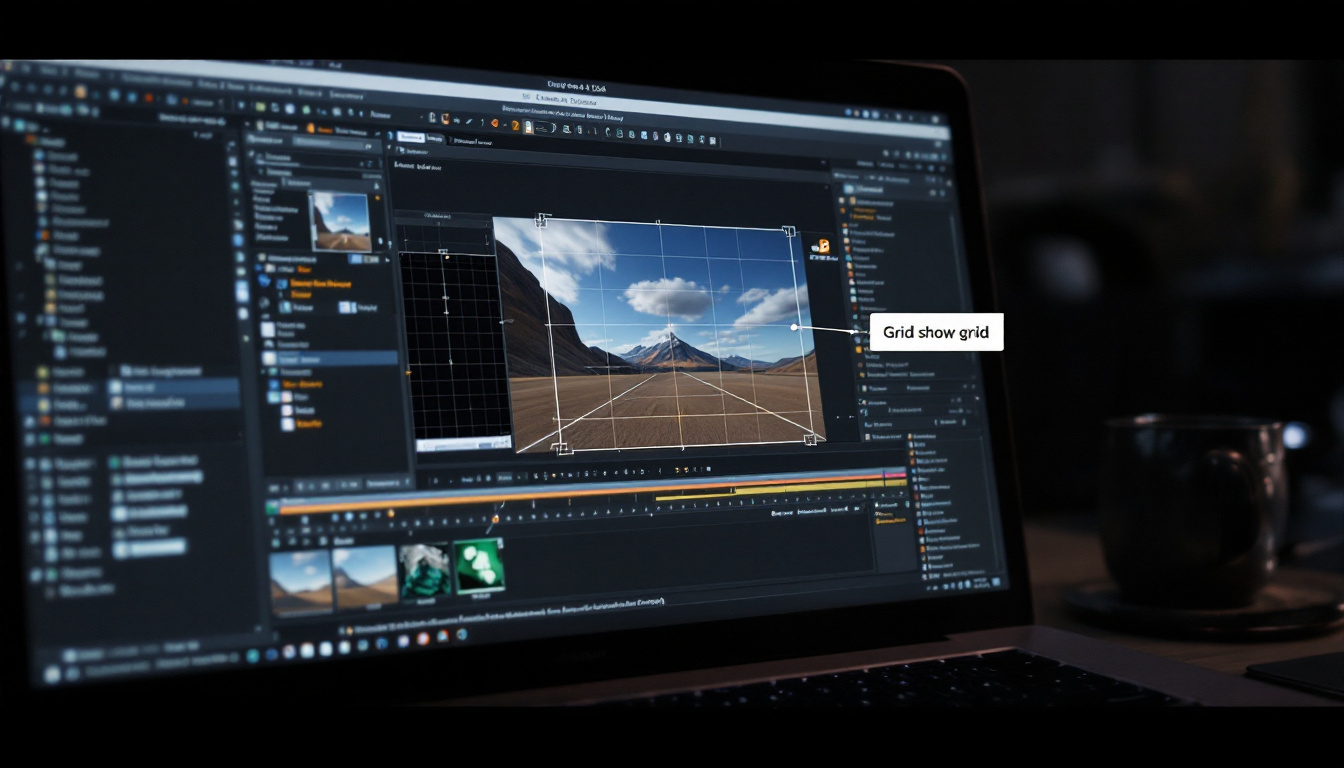
Let’s break down the steps necessary to make the grid visible in your camera view, allowing you to take full advantage of this feature.
Accessing Camera View in Blender
First and foremost, you need to enter the camera view. As mentioned, you can do this by pressing the Numpad ‘0’. This will switch your view to what the camera sees.
Once you are in the camera view, you’ll want to access the properties panel to manage grid settings. In Blender, you can access this panel by pressing ‘N’ on your keyboard while your cursor is in the 3D view. This allows you to customize different aspects of the scene, including the grid options.
Activating the Grid Feature
To activate the grid feature, navigate to the ‘Overlays’ options available at the top-right of the viewport. Here, you’ll find a variety of settings that can be adjusted based on your preferences.
In the overlays dropdown, look for the ‘Grid’ checkbox. Simply check this box to display the grid in your camera view. You should now see the grid overlay in your viewport, ready for your modeling or animation tasks.
Adjusting Grid Settings for Optimal Use
Adjusting the grid settings further tailors the grid to fit your project requirements. You can change attributes such as grid size and subdivision levels to suit your needs. These adjustments can be found within the same ‘Overlays’ menu.
Experimenting with different settings can drastically change how the grid assists your work. Depending on the complexity of the scene, you might find different configurations more beneficial.
Troubleshooting Common Issues
Despite the straightforward nature of enabling the grid, users may sometimes experience problems displaying the grid in the camera view. These issues can be frustrating, but they are usually easy to resolve with a few simple steps.
Here, we will explore some of the common issues and their solutions to ensure you have a seamless experience while using Blender.
Grid Not Displaying in Camera View
If you find that the grid is not displaying in the camera view despite following the necessary steps, a few potential reasons may be at play. Firstly, ensure that you are indeed in camera view, as the grid will not appear in other views.
Next, double-check your overlays settings. It’s possible that the ‘Grid’ checkbox may have been inadvertently unchecked. Revisit the overlays settings and check the box if it is unselected.
Resolving Grid Visibility Problems
In addition to the previous suggestions, you may want to explore different viewport shading modes, as some shading modes hide grid overlays. Switching to ‘Wireframe’ or ‘Solid’ mode can allow the grid to remain visible.
If these adjustments do not work, restarting Blender can sometimes reset display issues. Ensure that your graphics drivers are also up to date, as this can affect viewport behavior.
Tips for Efficient Use of Grid in Blender
Using the grid effectively can significantly streamline your workflow as you work in Blender. Below are some helpful tips that can enhance your efficiency when utilizing the grid in your projects.
Understanding how to adapt grid settings to your overall project goals will aid in achieving better results, especially in complex scenes.
Utilizing Grid for Complex Models
When working with intricate models, using the grid to establish reference points can drastically improve the accuracy of your work. Consider breaking down complex models into smaller, manageable sections, utilizing the grid to align these pieces clearly.
This method can also apply to animations, where maintaining consistent positioning across various frames is key. Utilize grid snapping features, which can further enhance precision during the modeling process.
Grid Settings for Different Project Types
Different types of projects may require specific grid configurations. For instance, architectural visualization may benefit from larger grid sizes and finer subdivisions, while character modeling may require smaller grids to aid in detailed work.
Tailoring the grid settings to fit the needs of each project type will save time and help you achieve the desired outcomes more efficiently. With practice and exploration, you will become adept at leveraging the grid for all aspects of your Blender projects.
By following the steps outlined in this article, you will be better equipped to display and utilize the grid in your camera view in Blender, making your creative process more efficient and visually coherent.
