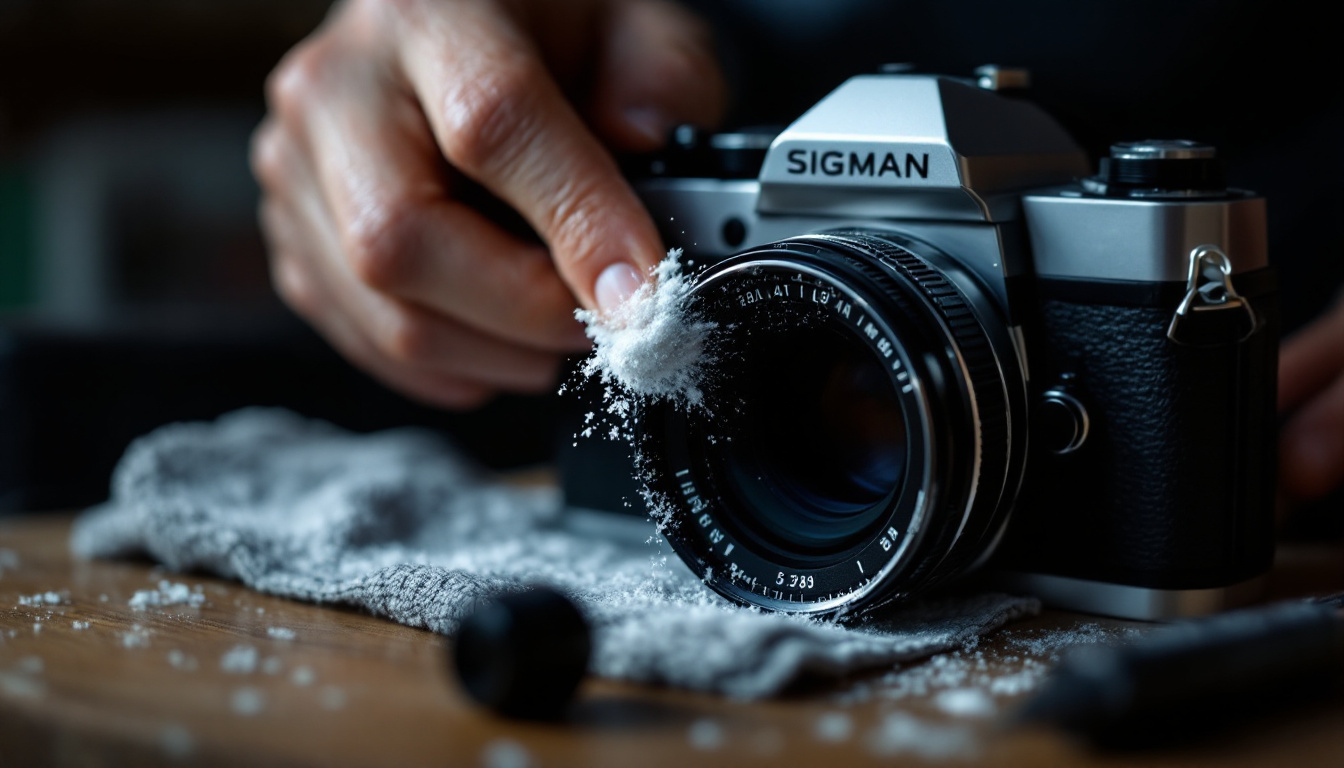
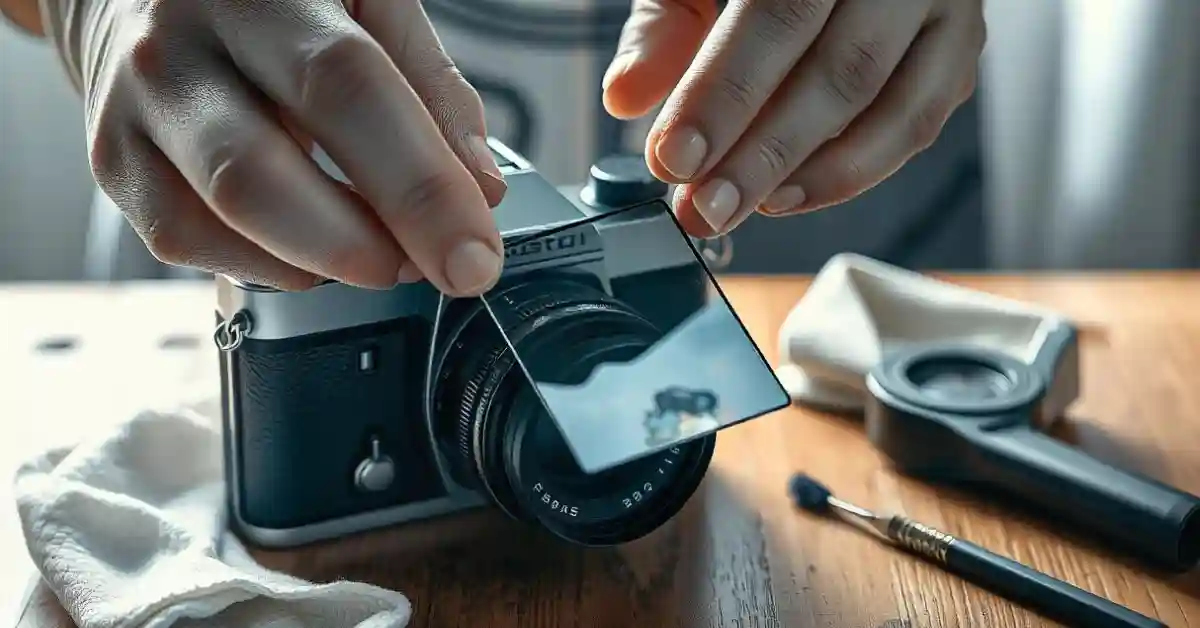
Maintaining your film camera in pristine condition is essential for capturing impeccable images. One of the most critical components that can affect image quality is the focusing screen. A dirty focusing screen can lead to distracting spots and a blurred viewfinder. This article provides a comprehensive guide on how to safely clean dirt from your film camera’s focusing screen.
Understanding the Importance of a Clean Focusing Screen
The focusing screen in a film camera serves as the interface between the lens and the viewfinder. It allows photographers to see a real-time projection of their subject, helping them achieve accurate focus and composition. Therefore, keeping this component clean is vital for any photographer aiming for the best image quality.

Not only does a clean focusing screen improve visibility, but it also enhances the overall photographic experience. Photographers are better equipped to make precise adjustments, ensuring that the captured images are of the highest possible standard. A pristine focusing screen can also instill confidence in the photographer, allowing them to immerse themselves fully in the creative process without the distraction of visual obstructions.
The Role of the Focusing Screen in Film Photography
The focusing screen plays a fundamental role in film photography by directing light from the lens to the viewfinder. The screen allows for critical focusing and composition adjustments, making it essential for capturing sharp and dynamic images. Additionally, the type of focusing screen can vary from camera to camera, with options like matte, split-image, or microprism screens, each offering unique benefits that cater to different shooting styles and preferences.
In many cameras, the focusing screen can be replaced or customized, which adds an additional layer of versatility. However, any foreign particles on this screen can distort the image seen through the viewfinder, leading to frustration and potential misfocusing. For instance, a split-image screen, which is particularly useful for manual focusing, can become less effective if obscured by grime, making it challenging to achieve that perfect focus that photographers strive for.
Potential Issues Caused by a Dirty Focusing Screen
When the focusing screen is contaminated with dirt, dust, or fingerprints, several issues may arise. For one, you might notice spots or smudges when looking through the viewfinder, causing distractions and making composition difficult. This can be especially problematic in low-light situations where every detail counts, as even the smallest imperfection can throw off the entire frame.
Moreover, a dirty focusing screen can lead to misfocused shots, negatively impacting the quality of the photographs. For serious photographers, these inconveniences can be a source of significant frustration, making regular cleaning a necessity. In addition to the practical implications, a dirty focusing screen can also affect the photographer’s mental state; the worry of potential errors can detract from the joy of capturing moments, making it crucial to maintain this often-overlooked component. Regular maintenance not only preserves the integrity of the equipment but also enhances the overall photographic journey, allowing for a more enjoyable and fulfilling experience behind the lens.
Identifying Dirt on Your Focusing Screen
Before cleaning your focusing screen, it’s essential to identify any visible dirt or dust. This will help you determine the level of cleaning required, allowing you to approach the task methodically.

Common indicators of a dirty focusing screen are spots and uneven brightness in the viewfinder, which can easily distract during shooting sessions. A careful examination will reveal whether you need a simple dusting or a more comprehensive cleaning process.
Common Signs of Dirt and Dust
As photographers, we should be attuned to the signs of dirt on our equipment. In particular, look out for:
- Visible specks or smudges in the viewfinder image.
- A cloudy appearance when looking through the viewfinder.
- Inconsistent focus in different areas caused by obstructive particles.
If you notice any of these signs, it may be time to take action and clean your focusing screen.
Assessing the Level of Cleaning Required
Not all forms of dirt require the same level of cleaning effort. For light dust and minor smudges, a quick cleaning with a brush or soft cloth may suffice. However, if your focusing screen is covered with more significant grime or oily residue, then a careful cleaning with suitable solutions and techniques is necessary.
It’s also worth noting that environmental factors can contribute to the accumulation of dirt on your focusing screen. For instance, shooting in dusty outdoor locations or in humid conditions can lead to a faster buildup of particles. Regularly checking your equipment after such shoots can help maintain optimal performance and image quality. Additionally, using protective covers or cases when transporting your camera can minimize exposure to dirt and dust, prolonging the cleanliness of your focusing screen.
Ultimately, assessing the level of dirt will allow you to choose the most effective cleaning method, minimizing the risk of damaging the screen in the process. Always remember to use appropriate tools, such as microfiber cloths and lens cleaning solutions, to ensure that you maintain the integrity of the screen while achieving a crystal-clear viewfinder experience.
Gathering the Right Cleaning Materials
Proper cleaning of your focusing screen requires specific materials to ensure safe and effective results. Using the right tools prevents potential damage while ensuring that dirt is removed without leaving residue behind.
It’s essential to gather high-quality products designed for camera maintenance to ensure the best results. Preparing in advance will streamline your cleaning process and make your efforts more effective. A well-organized cleaning kit not only saves time but also enhances your confidence in handling your camera equipment, knowing you have everything you need at your fingertips.
Safe Cleaning Solutions for Focusing Screens
When selecting cleaning solutions, avoid any alcohol or ammonia-based products as these can damage optical coatings. Instead, consider using:
- Distilled water
- Dedicated lens cleaning solutions
- Purified air for dust removal
These solutions are gentle yet effective, ensuring that your cleaning process is safe for your camera’s focusing screen. Additionally, using distilled water is beneficial because it is free from minerals and impurities that can leave streaks or deposits on the delicate surface. Dedicated lens cleaning solutions are formulated specifically for optical surfaces, providing a layer of protection while effectively removing smudges and fingerprints.
Tools for Effective and Safe Cleaning
In addition to cleaning solutions, you will need several tools to carry out the cleaning safely:
- A soft, lint-free microfiber cloth
- A lens brush with soft bristles
- Q-tips or cotton swabs for targeted cleaning
Each of these tools contributes to a thorough and gentle cleaning process, allowing you to maintain the integrity of your focusing screen. The microfiber cloth is particularly useful as it traps dust and dirt without scratching the surface, while the lens brush helps to dislodge any particles that may be clinging to the screen. For those hard-to-reach areas, Q-tips or cotton swabs provide precision cleaning, ensuring that every nook and cranny is addressed without the risk of damage to surrounding components.
Moreover, it’s advisable to keep your cleaning tools in a dedicated pouch or case to prevent them from becoming contaminated with dust or debris when not in use. Regularly inspecting your tools for wear and tear will also help maintain their effectiveness, ensuring that your cleaning routine remains as safe and efficient as possible. By investing time in gathering the right materials and tools, you set the stage for a successful cleaning experience that preserves the performance and longevity of your camera equipment.
Preparing Your Camera for Cleaning
Once you have gathered your materials, it’s time to prepare your camera for cleaning. This step is crucial to ensure that the cleaning process is both effective and safe.
Taking the proper precautions will minimize the risk of dust getting inside the camera body or causing other complications during cleaning.
Safely Opening Your Film Camera
First and foremost, consult your camera’s manual for specific instructions on opening the camera body. Many film cameras have distinct mechanisms for accessing the focusing screen, and it’s vital to follow the manufacturer’s guidelines to avoid damage.
Once you have successfully opened your camera, take care to work in a clean, dust-free environment. This will help prevent additional dirt from accumulating during the cleaning process.
Handling the Focusing Screen
Once the camera is open, delicately handle the focusing screen. Ensure you are wearing clean, dry gloves or use a lint-free cloth to avoid leaving fingerprints or oils behind. Be mindful of static electricity; grounding yourself before reaching for the screen can prevent unwanted particles from adhering.
Gently lift the screen out of its housing, taking care to avoid undue pressure or bending, as this can compromise the screen’s performance.
Step-by-Step Cleaning Process
With your materials ready and your camera prepared, you can now proceed with the cleaning process. Be meticulous and patient, as a rushed cleaning may result in further complications.

Applying the Cleaning Solution
Lightly spray your cleaning solution onto a microfiber cloth—not directly on the screen—to avoid oversaturation. The cloth should be slightly damp, not wet, to prevent any liquid from seeping into the camera.
Using the damp cloth, gently wipe the focusing screen in a circular motion. Begin from the center and work your way outward, maintaining consistent pressure throughout to ensure an even clean.
Gently Removing Dirt and Dust
After applying the cleaning solution, use a lens brush to eliminate any leftover dust particles. Lightly sweep the bristles across the screen, ensuring you don’t press too hard, as this might scratch its surface.
For areas that require more attention, Q-tips can be used carefully to reach corners or edges. Remember to use them lightly to avoid leaving cotton fibers behind.
Once you have completed the cleaning process, carefully reassemble your camera and perform a final inspection to ensure that the focusing screen is spotless.
By following these steps, you can confidently maintain your film camera’s focusing screen, ensuring optimal performance and image quality for all your photographic adventures.


