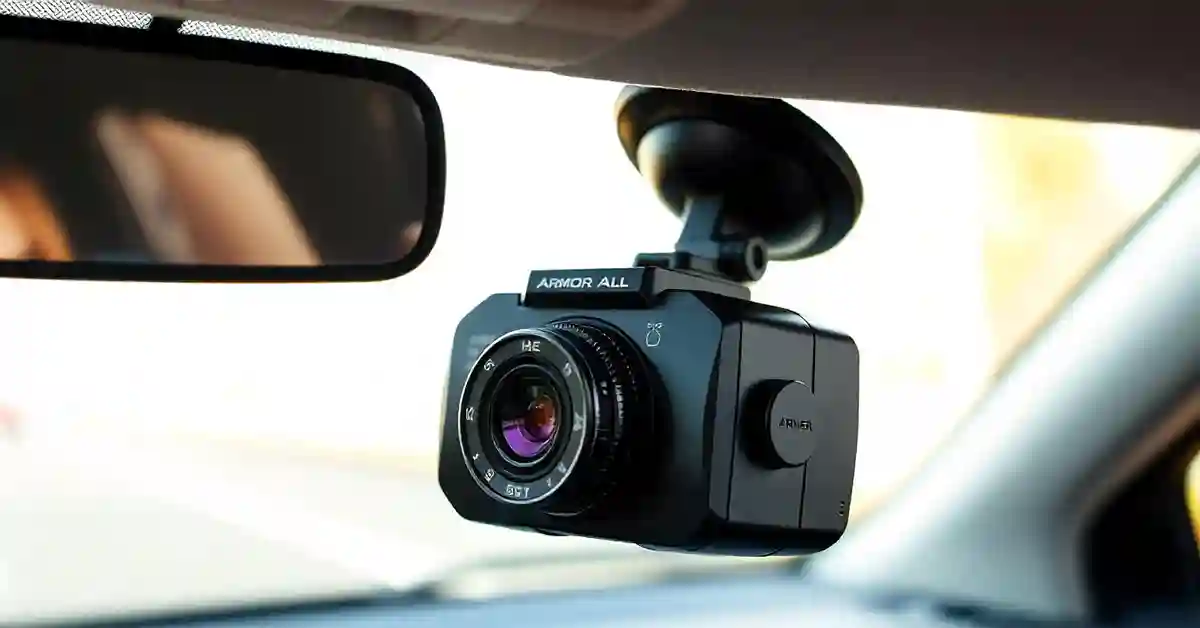
In an era where technology seamlessly integrates into daily life, dashboard cameras, like the Armor All ADC-1003-BLK, have become indispensable. These devices not only provide crucial evidence in cases of accidents but also capture unexpected moments on the road, making them a must-have for tech enthusiasts, photography lovers, and DIYers alike.
Ever wondered how to set up and maximize the potential of your Armor All dashboard camera instructions adc-1003-blk? In this article, we’ll explore everything from installation to making the most out of its features. How do you ensure your camera records high-quality footage? What are some troubleshooting tips for common issues? By the end of this guide, you’ll be equipped with the knowledge to operate your dashboard camera with ease.
With the right guidance, using the ADC-1003-BLK becomes a seamless experience. Its benefits range from enhanced road safety to capturing scenic drives. Read on to discover how this camera can transform your driving adventures and provide peace of mind.
Getting Started with Your Armor All Dashboard Camera
Setting up your Armor All ADC-1003-BLK is simple. Start by taking the camera and mounting it on your car’s windshield. Make sure it’s positioned to capture a clear view of the road. This step is crucial for getting accurate footage.
Next, plug the camera into your vehicle’s power outlet using the provided cable. The camera will start automatically when you switch on your car. This feature ensures that you never miss recording an important moment.
Ensure the memory card is inserted correctly. This camera supports different card sizes, so choose one that suits your needs. A larger card means more footage storage, which is handy for long trips.
Understanding the Camera’s Features and Specifications
The Armor All ADC-1003-BLK is packed with features. It records high-definition video for clear images of the road. This clarity can be essential evidence if you’re involved in an incident.
The camera has a wide-angle lens. This lens captures more of the road compared to standard cameras. It’s perfect for getting a full view of lanes and intersections.
A built-in microphone records audio. This feature can be useful for capturing conversations or sounds related to an event. Always check local laws regarding audio recording in vehicles.
Installation Made Easy
To install the Armor All ADC-1003-BLK, begin by thoroughly cleaning your windshield. This ensures the suction cup mount adheres securely. A clean surface prevents the camera from falling off while driving.
Attach the suction cup mount to the desired spot on the windshield. Press firmly to create a strong seal. Once secure, attach the camera to the mount and adjust its angle to face the road.
Route the power cable neatly. Tuck it along the edges of your dashboard and windshield to avoid any distractions or blockages. This keeps your vehicle’s interior tidy and professional-looking.
Powering Up and Initial Setup
Connect the camera to your car’s power outlet. The ADC-1003-BLK is designed to start automatically with your car. This feature ensures you never forget to turn on the camera.
Once powered, the camera will prompt you to set the date and time. Accurate timestamps are crucial for referencing footage during reviews or legal situations.
Adjust the recording settings according to your preferences. These settings include resolution, loop recording duration, and motion detection sensitivity. Tailor these options to fit your specific needs.
Navigating the User Interface
The dashboard camera’s interface is user-friendly. Familiarize yourself by browsing through the menu options on the screen. Practice selecting and adjusting various settings.
Use the up and down buttons to scroll through the menu. The OK button confirms your selections. This simplicity allows you to quickly change settings while on the go.
Learn how to playback recorded videos. Watching past footage directly on the camera can help you assess video quality and angle adjustments.
Maximizing Video Quality
For optimal video quality, set the resolution to the highest setting available. High-resolution footage provides more detail, which can be vital in case of accidents.
Regularly clean the camera lens. Dust and smudges can blur the video quality. A microfiber cloth is ideal for this task, ensuring a clear and sharp image.
Position the camera to avoid glare from the windshield. Glare can obscure footage, reducing its usefulness. Adjust the angle slightly if necessary to minimize this effect.
Utilizing the Wide-Angle Lens
The wide-angle lens captures more than just the road directly ahead. It includes adjacent lanes and sidewalks, offering a comprehensive view of your surroundings.
Use this feature to monitor traffic patterns effectively. The broader view can help anticipate potential hazards before they become an issue.
When reviewing footage, the wide-angle view provides better context. This can be helpful in understanding the circumstances surrounding an incident.
Exploring Audio Recording Capabilities
The ADC-1003-BLK’s microphone records audio alongside video footage. This feature adds another layer of detail to your recordings, capturing conversations and ambient sounds.
Always ensure the microphone is not obstructed. Objects in front of the microphone can muffle the audio, making it less clear.
Check local laws regarding in-car audio recording. Some regions require consent from all parties involved before recording conversations.
Loop Recording Explained
Loop recording allows continuous video capture without worrying about storage space. When the memory card is full, the camera automatically overwrites the oldest footage.
This feature is convenient for long trips. You don’t need to manually delete old videos, as the camera manages storage for you.
Set the loop recording duration in the settings. Common options include 3, 5, and 10-minute intervals. Choose a duration that fits your typical use case.
Understanding Motion Detection
Motion detection helps conserve storage by recording only when movement is detected. This feature is perfect for monitoring your parked vehicle.
Adjust the sensitivity to control what triggers recordings. Higher sensitivity captures more subtle movements, while lower sensitivity focuses on significant motion.
Test the motion detection feature in various environments. Fine-tune the sensitivity based on the results to ensure optimal performance.
Troubleshooting Common Issues
If the camera doesn’t power on, check the power connection. Ensure the plug is secure and the vehicle’s power outlet is functioning.
Blurry footage may result from a dirty lens. Clean it gently with a microfiber cloth to restore clarity. Regular maintenance keeps your videos sharp and visible.
If loop recording isn’t working, verify the memory card is inserted correctly. A malfunctioning card can prevent proper recording cycles.
Tips for Safe and Efficient Use
Regularly review your recorded footage. This practice helps ensure the camera is capturing video correctly and that all settings are optimal.
Back up important footage on a computer or cloud service. This step preserves evidence in case of damage or theft of the camera.
Always keep the camera’s firmware updated. Manufacturers release updates to improve performance and add new features.
Ensuring Longevity and Reliability
Take care when cleaning the camera. Use appropriate materials to avoid scratching the lens or damaging the housing.
Avoid exposing the camera to extreme temperatures. High heat can damage electronic components, while cold can affect battery life.
Store the camera safely when not in use. Protect it from physical damage by using a protective case or bag.
Enhancing Your Driving Experience
The Armor All ADC-1003-BLK does more than record incidents. It enhances your overall driving experience by providing peace of mind.
Use the camera as a tool for learning and improving driving habits. Reviewing footage can highlight areas for improvement, leading to safer driving practices.
Share interesting road footage with friends and family. Capturing scenic drives or unique road encounters can be a fun way to connect.
Additional Accessories and Upgrades
Consider purchasing additional accessories to enhance functionality. A larger memory card increases storage, allowing you to capture more footage.
Look for compatible mounts or holders. These can provide more flexible positioning options for unique viewing angles.
Explore software options for editing and enhancing footage. Basic editing tools can improve video quality and create engaging content.
FAQs With Answers
How do I install the Armor All ADC-1003-BLK on my windshield?
Attach the suction cup mount to a clean spot on the windshield, press firmly to secure it, and then attach the camera to the mount.
Why is my video footage blurry?
The lens might be dirty. Clean it with a microfiber cloth to improve video clarity.
How do I set up loop recording on my dashboard camera?
Access the camera’s settings menu, find the loop recording option, and select a time interval that suits your needs.
Can I turn off audio recording?
Yes, you can disable audio recording in the camera’s settings menu if needed.
How do I update the camera’s firmware?
Visit the manufacturer’s website for firmware updates and follow their instructions to install the latest version.
Conclusion
Mastering the Armor All ADC-1003-BLK dashboard camera is a rewarding experience. By understanding its features and learning how to use them effectively, you can ensure you’re capturing the best possible footage every time you hit the road. Whether it’s for safety, learning, or capturing memorable moments, your dashboard camera is an invaluable tool. For additional information and support, explore the resources available on the manufacturer’s website or consider joining online communities dedicated to dashboard camera enthusiasts. Get ready to take your driving experience to the next level with confidence and peace of mind.