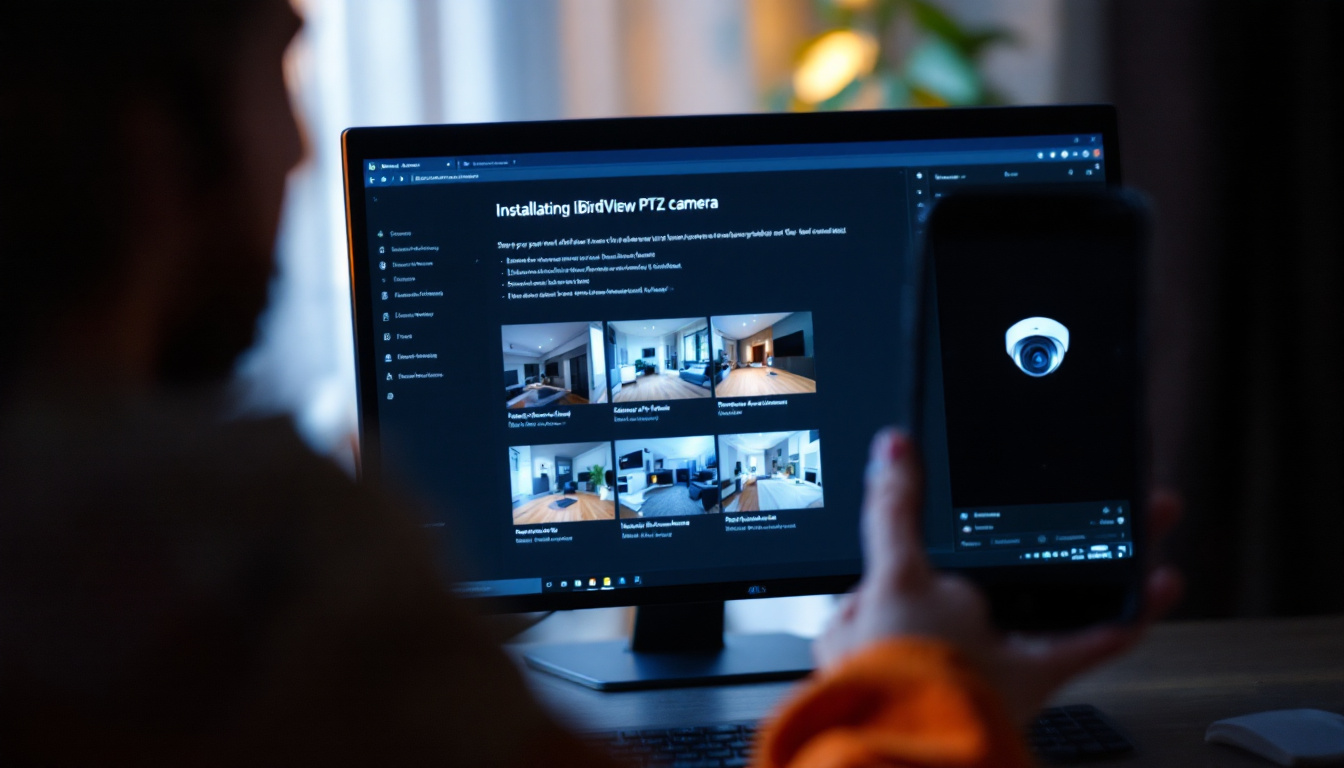
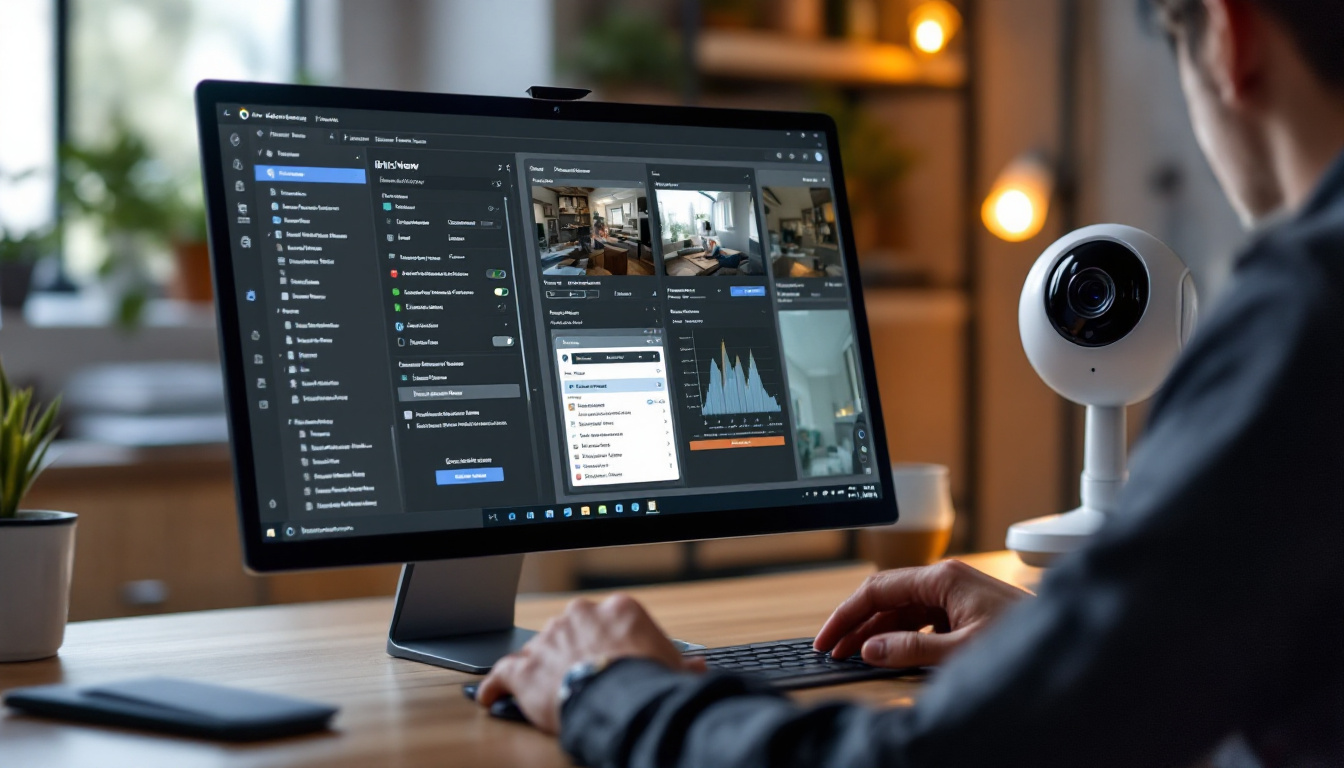
If you’re looking to enhance your video surveillance setup, installing the iBirdView PTZ Camera Software on your Windows 11 system is a great choice. This software offers various functionalities catering to both personal and professional security needs. In this article, we will guide you through the installation process step by step.
Understanding the iBirdView PTZ Camera Software
The iBirdView PTZ Camera Software is designed to optimize the management and control of PTZ (Pan-Tilt-Zoom) cameras. This software allows users to monitor, record, and control multiple camera feeds seamlessly. With the increasing demand for security solutions in both residential and commercial settings, the iBirdView software stands out as a reliable choice for effective surveillance.
One of the key advantages of the iBirdView PTZ Camera Software is its user-friendly interface that simplifies the process of managing your camera system, whether you’re at home or in a large business environment. The intuitive layout ensures that even those with minimal technical expertise can navigate through the various features with ease, making it accessible to a broader audience.
Key Features of iBirdView PTZ Camera Software
This software comes packed with a myriad of features, including live streaming, automated recording, scheduling, and advanced motion detection. These features not only enhance your security setup but also provide ease of access and flexibility. For instance, the advanced motion detection capability can differentiate between human movement and other disturbances, significantly reducing false alarms and ensuring that you are alerted only when necessary.
Moreover, the software supports remote access, allowing you to view your camera feeds from anywhere, making it convenient for users who travel frequently or monitor multiple locations. This remote functionality is particularly beneficial for business owners who want to keep an eye on their premises in real-time, ensuring that everything is running smoothly even when they are miles away.
System Requirements for Installation
Before installing the iBirdView PTZ Camera Software, you should ensure your system meets the required specifications to avoid any operational issues. The software is designed to run efficiently on a range of systems, but adhering to the recommended specifications can enhance performance and user experience.
- Operating System: Windows 11, 10, 8, or 7
- Processor: Intel Core i3 or equivalent
- RAM: Minimum 4 GB (8 GB recommended)
- Available Disk Space: 1 GB or more
- Video Card: DirectX 9 compatible
Verifying these requirements beforehand can save you a lot of time and frustration during the installation process. Additionally, keeping your system updated with the latest drivers and software patches can further enhance the performance of the iBirdView PTZ Camera Software, ensuring that you benefit from the latest features and security updates.
Furthermore, it’s worth noting that the software’s compatibility extends beyond just Windows operating systems; it can also be integrated with various mobile devices, allowing users to monitor their camera feeds on the go. This cross-platform functionality ensures that you remain connected to your security system, regardless of the device you are using, making it an ideal choice for tech-savvy individuals who appreciate flexibility and convenience in their surveillance solutions.
Preparing for Installation
Preparation is key to a smooth installation. Taking a few moments to gather materials and check your system can make a significant difference.
Make sure you have an internet connection ready for downloading the software and any updates that may be required post-installation. A reliable connection will not only facilitate the download but also ensure that you can access any online resources or support if needed during the installation process.
Checking Your System Compatibility
Run a system check to see if your current setup aligns with the software requirements. You can do this by right-clicking on ‘This PC’ and selecting ‘Properties’. This will provide information regarding your operating system’s version, processor speed, and RAM capacity.
If your system does not meet the requirements, consider upgrading your hardware to ensure optimal performance while using the iBirdView PTZ Camera Software. Additionally, it may be beneficial to check for any pending system updates that could enhance compatibility and performance. Keeping your operating system up-to-date can prevent potential issues during installation and usage.
Gathering Necessary Installation Materials
Next, you should gather everything you need for the installation, which typically includes a stable internet connection for downloading the software, any necessary login credentials, and a backup device for ease of access.
It’s also advisable to disable any antivirus programs temporarily, as they may interfere with the installation process. Remember to reactivate them once you are done. Furthermore, consider creating a dedicated folder on your desktop for all installation files and documentation. This will help you stay organized and make it easier to locate important files, such as user manuals or installation guides, which can be invaluable if you encounter any challenges during the setup.
Step-by-Step Installation Guide
Now that you have prepared adequately, it’s time for the installation itself. Follow this detailed step-by-step guide to get the iBirdView PTZ Camera Software up and running on your Windows 11 system.

Downloading the iBirdView PTZ Camera Software
The first step is to visit the official iBirdView website. Look for the downloads section where you can find the latest version of the software.
Once located, click on the download button. The download may take a few minutes depending on your internet speed, so be patient during this process. It’s also a good idea to check for any system requirements listed on the site to ensure compatibility with your Windows 11 setup. This can save you time and frustration later on if any issues arise during installation.
Running the Installation Process
After the download is complete, open the downloaded file. You will likely see a User Account Control prompt asking if you want to allow the app to make changes. Click ‘Yes’ to proceed.
Follow the on-screen prompts. You will accept the License Agreement, choose a destination folder for installation, and then click ‘Install’ to begin the process. It may take several minutes for the installation to complete. During this time, you might see a progress bar indicating how much of the installation is finished, which can help you gauge how long you have to wait. If you encounter any error messages, take note of them, as they can provide insight into what might be going wrong.
Navigating the Installation Wizard
The installation wizard will guide you through the process. It is generally straightforward, but make sure to read each step carefully. At times, you might need to select additional components or plugins that you wish to install alongside the main software.
Once done, you’ll receive a notification that installation was successful. Don’t forget to restart your computer to apply changes fully. After rebooting, you may want to check the settings within the software to optimize its performance according to your specific needs. This could include configuring camera views, adjusting resolution settings, or setting up alerts for motion detection, all of which can enhance your overall experience with the iBirdView PTZ Camera Software.
Configuring the iBirdView PTZ Camera Software
Once installed, configuration is necessary for optimal use. Properly configuring the software can enhance your overall experience and limit future issues.

Setting Up Camera Preferences
Open the iBirdView PTZ Camera Software and log in using the credentials you created during registration. Navigate to the settings section to adjust camera preferences according to your needs.
You can customize settings like camera names, recording schedules, and responsiveness to motion events. Additionally, consider organizing your cameras into groups if you have multiple units. This can streamline monitoring and make it easier to manage settings across similar devices, ensuring that all cameras in a specific area or function are configured uniformly.
Adjusting Video and Audio Settings
Next, go to the video and audio settings to tweak the quality of your feeds. Ensure resolutions are set to optimal levels for clear visibility.
Also, adjust audio settings if your cameras support two-way audio communication. Test each setting to confirm they meet your expectations before you finalize the configuration. Furthermore, explore advanced options like frame rates and bitrate adjustments, which can significantly impact the smoothness of your video playback. A higher frame rate may be beneficial for fast-moving subjects, while a lower bitrate can save storage space without sacrificing too much quality. Don’t forget to check the compatibility of your network bandwidth to avoid lag or interruptions in your video streams.
Troubleshooting Common Installation Issues
While installation is usually a smooth process, you may encounter some common problems along the way. Knowing how to troubleshoot will help you resolve any issues quickly.

Resolving Compatibility Issues
If you face compatibility issues, double-check that all requirements are met. Sometimes Windows updates or outdated drivers can cause problems.
Ensure your graphics drivers are updated, as they are crucial for video performance. Regularly updating your operating system can also help avoid such issues.
Fixing Installation Errors
In case of installation errors, try running the installation file as an administrator. Right-clicking on the installation file and selecting ‘Run as administrator’ can often bypass various installation errors.
If errors persist, consult the iBirdView support forum for specific error codes and solutions. Community help can often provide quick fixes that are not found in the official documentation.
By following this guide, you can successfully install and configure the iBirdView PTZ Camera Software on your Windows 11 system, ensuring efficient and effective surveillance operations.


