For astrophotography enthusiasts, attaching a camera to a Newtonian telescope can open up new opportunities to capture stunning celestial images. This guide will walk you through the necessary steps to successfully attach your camera to a Newtonian telescope, offering tips and insights along the way.
Understanding the Basics of Newtonian Telescopes
Newtonian telescopes, designed by Sir Isaac Newton, are renowned for their simplicity and effectiveness in astronomical observations. They utilize a series of mirrors to gather and focus light from distant celestial bodies, making them an excellent choice for both amateur and professional astronomers. The innovative design not only revolutionized the field of astronomy in the 17th century but also laid the groundwork for the development of modern telescopes. Newton’s use of mirrors instead of lenses helped to eliminate chromatic aberration, a common issue in refracting telescopes, thereby providing clearer and more accurate images of the night sky.
The primary mirror collects light and reflects it to a focal point, while a secondary mirror directs the light to an eyepiece or camera. This design generally results in a more compact telescope while delivering high-quality images of stars, planets, and other astronomical objects. The ability to create larger mirrors without the limitations of glass lenses allows for greater light-gathering power, enabling astronomers to observe fainter objects that would otherwise be invisible. As a result, Newtonian telescopes have become a staple in both amateur observatories and professional research institutions.
Key Features of Newtonian Telescopes
Some essential features of Newtonian telescopes that make them suitable for astrophotography include:
- Large Aperture: Many Newtonian telescopes offer a larger aperture compared to other types, which allows for better light-gathering capabilities. This is particularly beneficial for capturing the intricate details of nebulae and galaxies, which often require significant amounts of light to reveal their beauty.
- Low Cost: They are typically less expensive to manufacture compared to refractors, making them more accessible to hobbyists. This affordability has encouraged a vibrant community of amateur astronomers who can experiment with different setups and techniques without breaking the bank.
- Customizability: Newtonians can be easily modified with various accessories, such as different mount types and camera attachments. This flexibility allows users to tailor their telescopes to specific observing or imaging needs, enhancing their overall experience.
Benefits of Using Newtonian Telescopes for Astrophotography
Astrophotography requires a stable platform and high-quality optics, both of which are characteristics of Newtonian telescopes. Here are a few benefits:
- Wide Field of View: Their design offers a broader field of view, making it easier to photograph large astronomical objects. This is particularly advantageous when capturing expansive star fields or sweeping views of the Milky Way, allowing photographers to include more of the celestial landscape in their images.
- Versatile Use: Whether you want to capture planets, star clusters, or deep-sky objects, Newtonian telescopes can handle various photographic needs. Their adaptability means that users can switch between different types of astrophotography, from planetary imaging with high magnification to wide-field shots of the night sky.
- Ease of Use: Many users find them simple to set up and operate, which is vital when working under the night sky. The straightforward design allows for quick adjustments and alignment, enabling astronomers to spend more time observing and less time troubleshooting.
Additionally, the popularity of Newtonian telescopes has led to a wealth of resources available for enthusiasts, including online forums, instructional videos, and community workshops. These platforms provide invaluable support for newcomers, helping them navigate the complexities of astrophotography and telescope maintenance. As technology advances, innovations such as computerized tracking systems and advanced imaging software have further enhanced the capabilities of Newtonian telescopes, making them even more appealing to both seasoned astronomers and those just starting their journey into the cosmos.
Preparing Your Camera for Attachment
Before you can attach your camera, it’s crucial to prepare it properly to ensure compatibility with the telescope and optimal performance.
First, make sure your camera is in good working order, with a fully charged battery and sufficient memory space. You may also want to install any necessary software or drivers if you plan on using a digital camera for astrophotography. Additionally, familiarize yourself with the camera settings that are most beneficial for capturing celestial images, such as manual mode, long exposure settings, and ISO adjustments. This preparation will not only save you time during your astrophotography session but also enhance the quality of your images.
Choosing the Right Camera for Your Telescope
Selecting the right camera is fundamental to achieving exceptional astrophotography results. DSLR and mirrorless cameras are popular choices due to their versatility and quality. Consider the following factors:
- Sensor Size: A larger sensor will capture more light and produce better-quality images, especially in low-light conditions.
- Interchangeable Lenses: Cameras that allow for the use of different lenses can offer more flexibility for various types of astrophotography.
- Compatibility with accessories: Make sure your camera can easily connect to the necessary adapters or T-rings for the telescope.
Moreover, think about the camera’s dynamic range and noise performance at high ISO settings, as these features can significantly impact the clarity and detail of your astrophotographs. Some photographers prefer dedicated astrophotography cameras that are optimized for capturing faint objects in the night sky, as they often come with features like cooling systems to reduce noise and enhance image quality.
Necessary Equipment for Camera Attachment
To successfully attach your camera to a Newtonian telescope, gather the following equipment:
- T-Ring Adapter: This connects your camera to the telescope’s focuser.
- Focuser Extension Tubes: These may be needed to achieve the right distance for proper focus.
- Guide Scope (optional): This can be helpful for longer exposures, ensuring your images remain centered.
In addition to the basic equipment, consider investing in a sturdy tripod or mount for your camera, as stability is key to preventing blurriness during long exposures. A remote shutter release can also be beneficial, allowing you to take pictures without physically touching the camera, which can cause vibrations. Lastly, don’t forget to bring along a notebook or digital device to log your settings and observations, as this can help you refine your technique over time and capture stunning images of the cosmos.
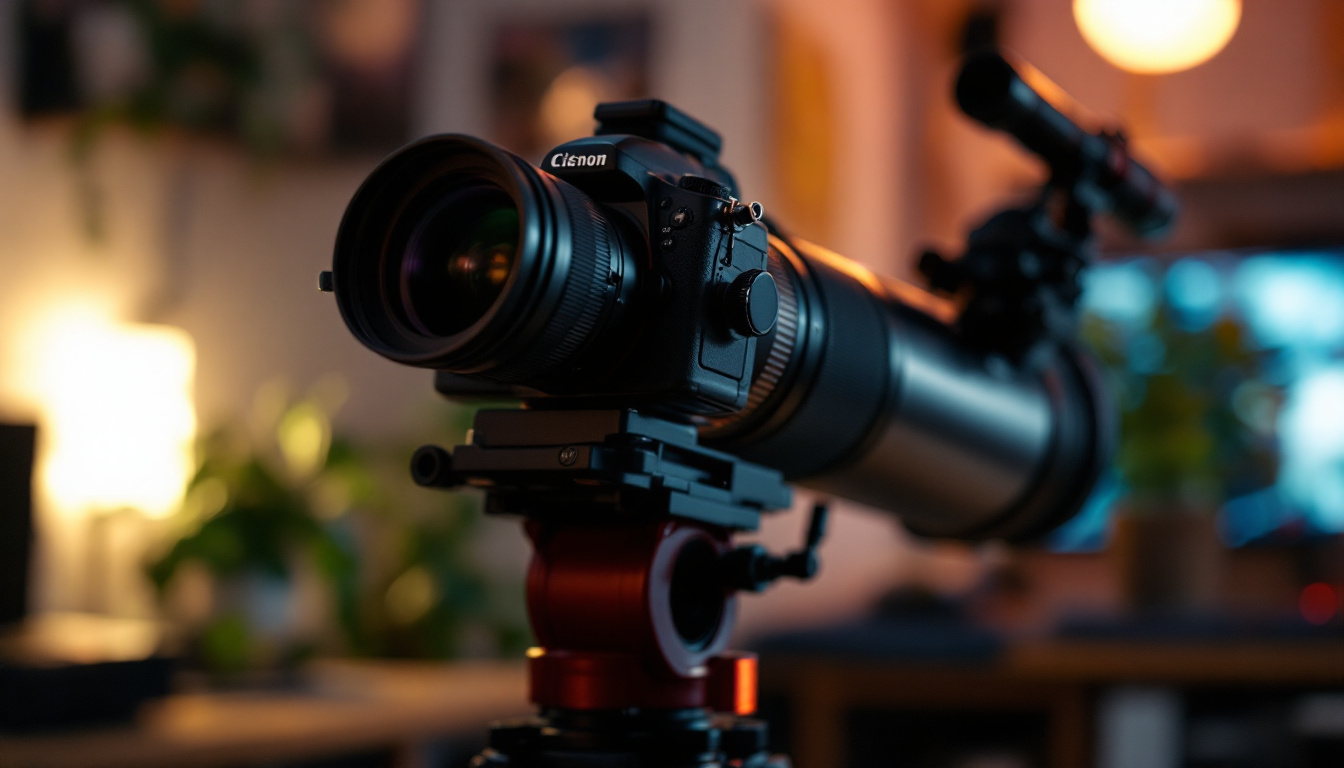
Step-by-Step Guide to Attaching Your Camera
Once you have prepared everything, it’s time to attach your camera to the telescope. Follow these steps for a successful attachment.
Positioning Your Camera Correctly
To begin, ensure your telescope is set up on a sturdy mount and is pointed at the desired celestial object. Then, take the T-ring adapter and attach it securely to your camera, aligning it properly to avoid damaging the camera’s connections. This step is crucial, as a misaligned T-ring can lead to frustrating image distortions or even damage to your equipment.
Next, slide the T-ring into the eyepiece holder of your Newtonian telescope. Make sure it sits snugly, as any movement here can affect the focus. To enhance your setup, consider using a camera-specific adapter that matches both your camera and telescope model, as this can provide a more secure fit and reduce the chance of any light leaks that could compromise your astrophotography.
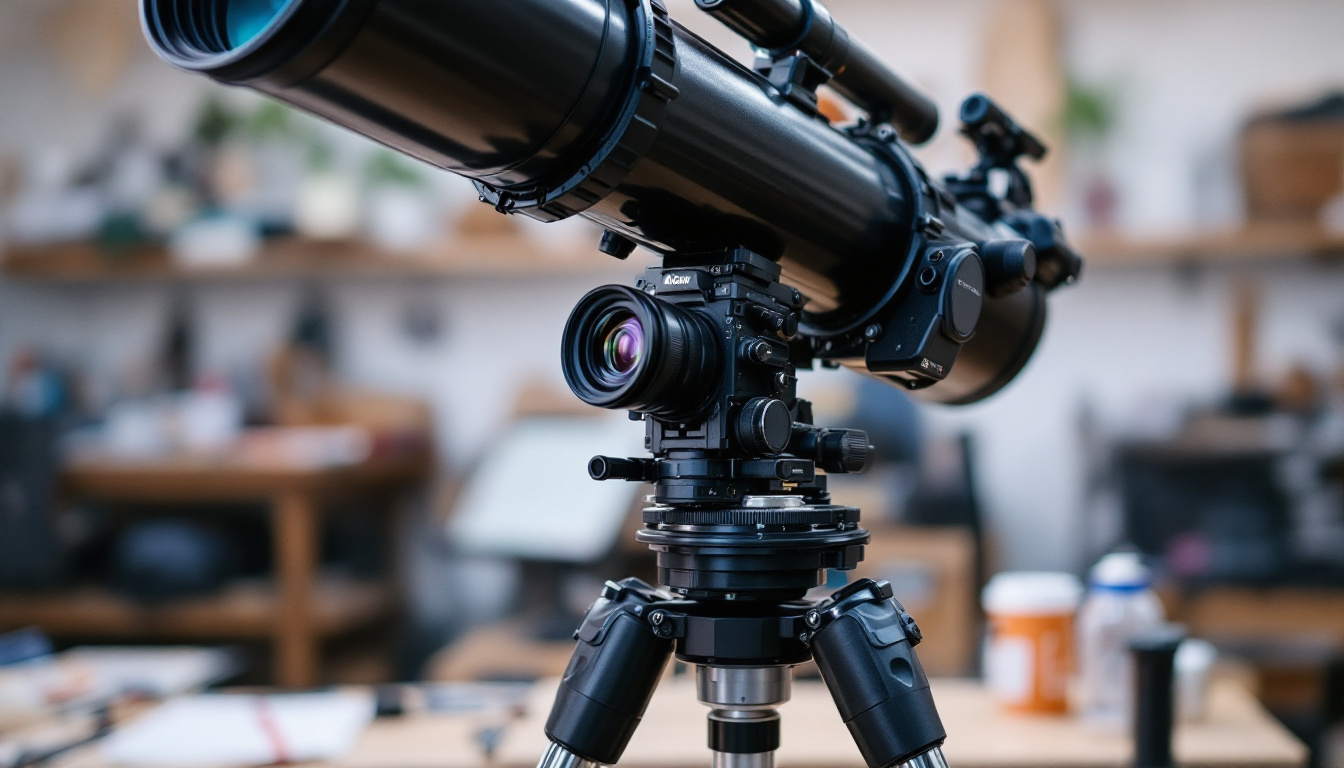
Securing Your Camera to the Telescope
Once your camera is in position, tighten the focuser knobs to secure it in place. Check for stability; if the camera shifts easily, re-evaluate the attachment. It’s advisable to perform this check gently, as overtightening can lead to strain on the camera body or the telescope’s eyepiece holder, potentially causing long-term damage.
After securing, take a moment to check the alignment. It’s important that the camera’s sensor is aligned with the telescope’s optical axis to ensure high-quality images. To aid in this process, you might want to use a small flashlight or a laser pointer to help visualize the alignment better. Additionally, consider taking a few test shots of a bright star or planet to confirm that your setup is correctly aligned before proceeding to capture more detailed images of fainter celestial objects. This preliminary step can save you time and frustration later on, ensuring that your astrophotography session is as productive as possible.
Troubleshooting Common Issues
Even seasoned astrophotographers may face challenges when attaching their cameras. Here are some common issues and how to address them.
Dealing with Blurry Images
If your images come out blurry, this might indicate that your focus is off. Use the telescope’s focuser to make fine adjustments. It can also be beneficial to use a Bahtinov mask, which aids in achieving perfect focus for astrophotography.
Additionally, ensure that the camera and telescope are securely attached. Any movement can cause vibrations that affect image clarity.
Addressing Camera Stability Issues
If your camera is unstable, check the connectivity of the T-ring and any extension tubes. Tightening these connections can often resolve issues related to camera stability.
It’s also essential to minimize any external vibrations, such as those from wind or nearby activities, as they can significantly impact image quality.
Maintaining Your Camera and Telescope Setup
After successfully attaching your camera and capturing stunning images, proper maintenance will extend the life of your equipment and improve your astrophotography experience.
Regular Cleaning and Care
Over time, dust and debris can accumulate on both your camera sensor and telescope optics. Regularly inspect and clean your equipment using suitable cleaning tools, such as lens brushes and microfiber cloths.
Pay extra attention to the optics, ensuring that their surfaces remain free from smudges, as these can compromise the quality of your astrophotography.
Safe Storage for Your Equipment
When not in use, store your camera and telescope in a protective case to shield them from moisture and dust. Consider using silica gel packets within the storage case to absorb any excess humidity that could damage the internal components.
Properly organized storage helps ensure your equipment is always ready for the next clear night of observing or photographing the night sky.