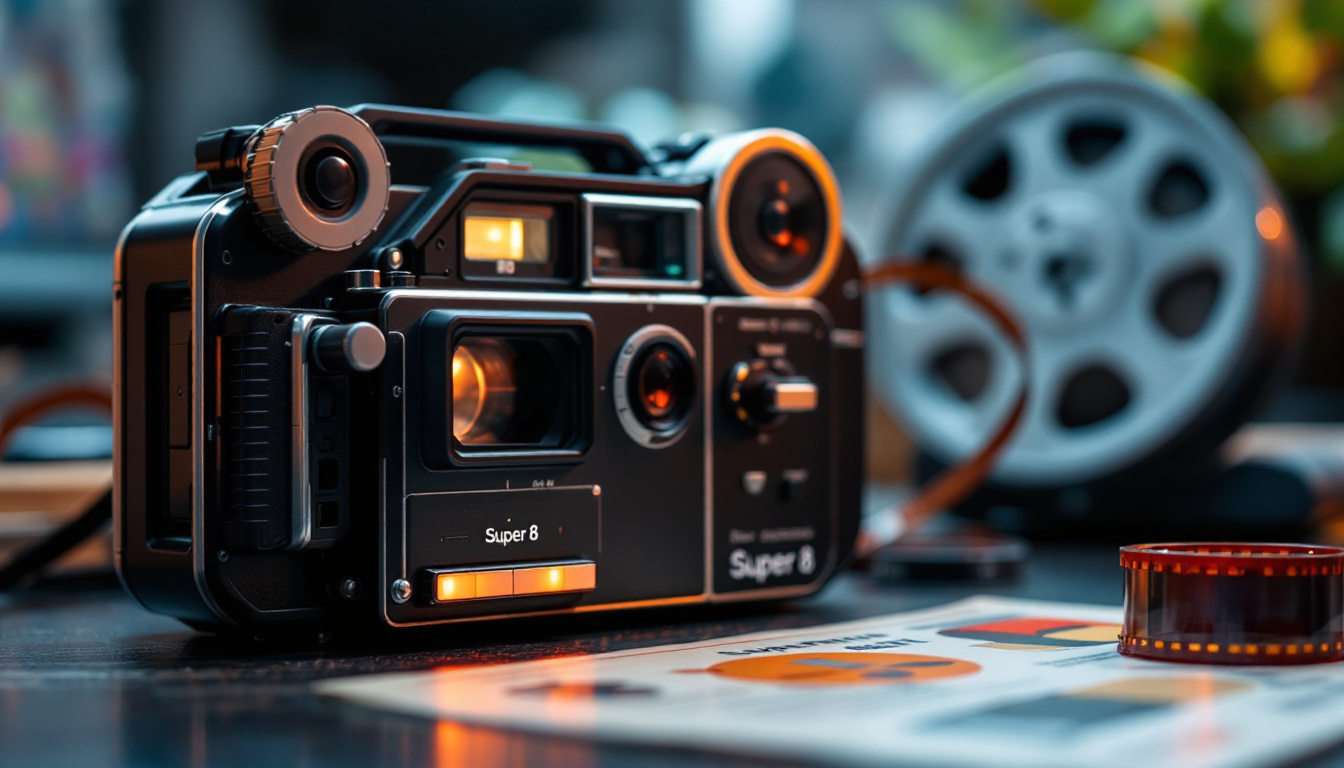
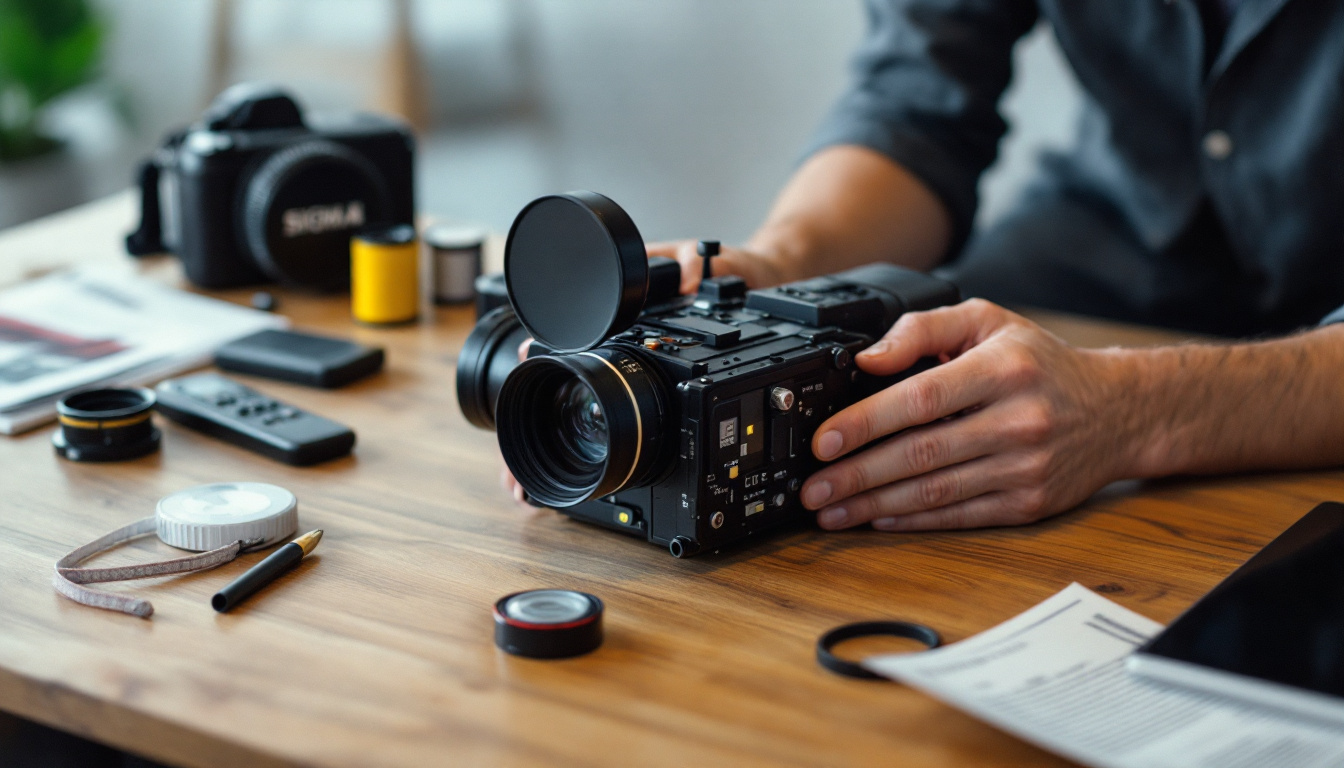
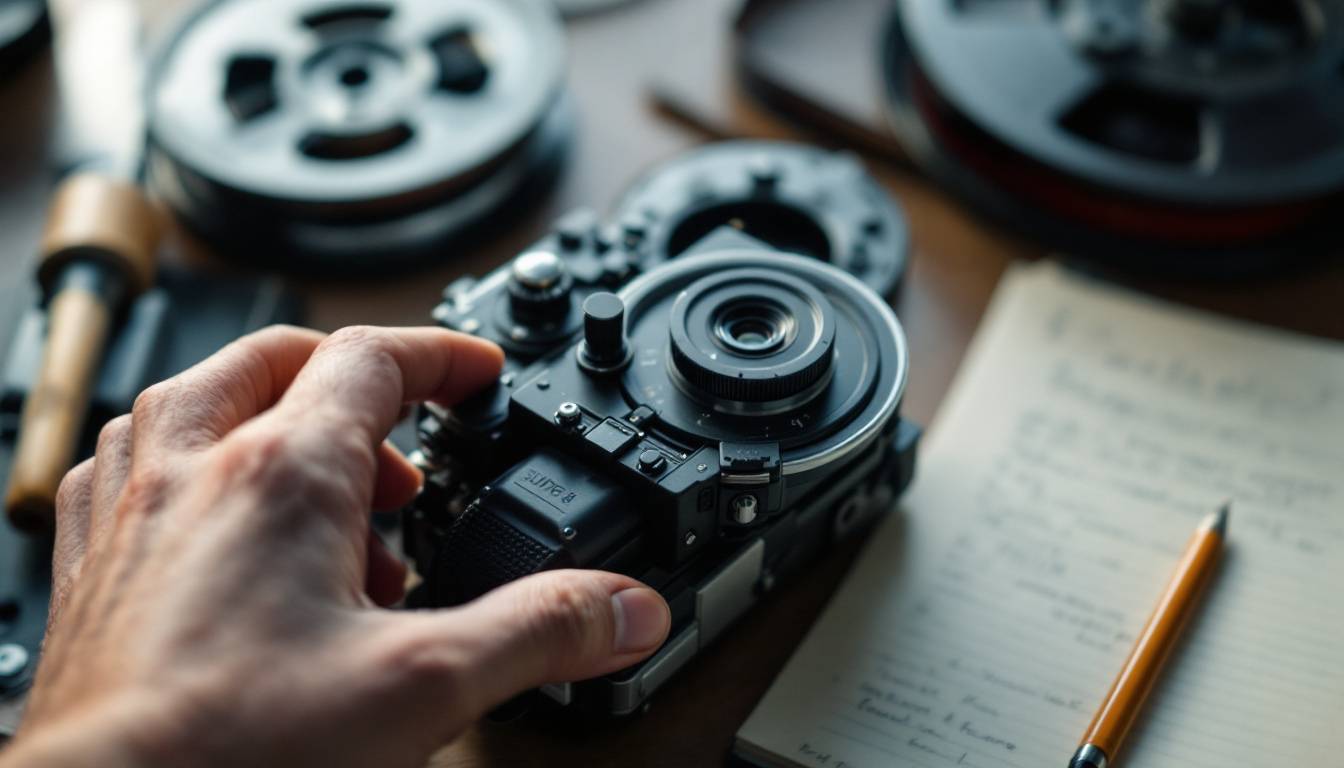
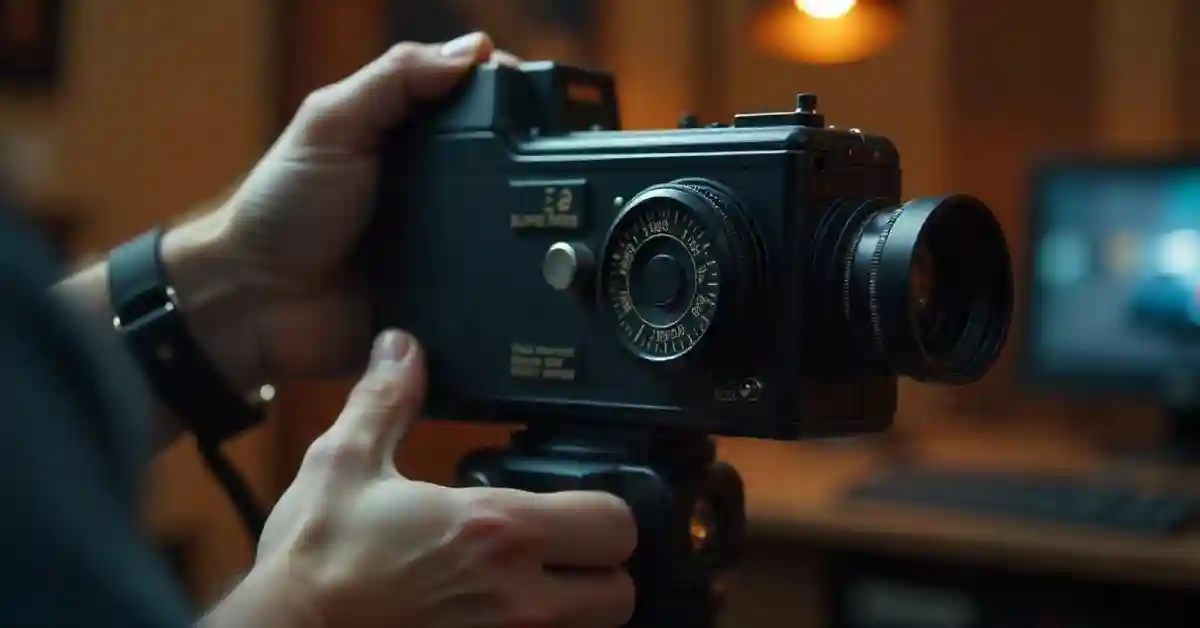
Super 8 cameras have captured moments for decades, allowing enthusiasts and professionals alike to tell stories through film. This guide will walk you through understanding the fundamentals of a Super 8 camera, preparing it for use, focusing it, and troubleshooting common focus issues.
Understanding the Basics of a Super 8 Camera
Before diving into the intricate details of focusing a Super 8 camera, it’s essential to grasp what makes these cameras unique. Super 8 film was introduced by Kodak in the 1960s, designed as a more user-friendly alternative to standard 8mm film. This innovation not only simplified the filming process for amateurs but also significantly improved the quality of home movies, allowing families to capture their cherished moments with a level of clarity and vibrancy that was previously unattainable.

The History and Evolution of Super 8 Cameras
The Super 8 format emerged as an accessible way for families and amateur filmmakers to capture their lives on film. Over the years, technology advanced, with various manufacturers introducing cameras that offered enhanced features. From basic models to those with automatic settings, the evolution continued, bringing better optics and ease of use. Notably, the introduction of sound Super 8 cameras in the 1970s allowed filmmakers to synchronize audio with their visuals, creating a more immersive experience. This evolution not only expanded the creative possibilities for filmmakers but also solidified Super 8’s place in the pantheon of film formats.
Key Components of a Super 8 Camera
Understanding the essential components of a Super 8 camera is critical for proper operation. Key features include the lens, which gathers light, the film gate, where film passes, and the focus mechanism, allowing you to adjust the sharpness of your images. Each of these components plays a vital role in determining the overall quality of the footage captured. For instance, the lens quality can dramatically affect the depth of field and the richness of colors in your film.
Additionally, Super 8 cameras often come equipped with a viewfinder, which allows you to frame your shots accurately. The film cartridge is another essential component that holds the film securely and ensures it is exposed correctly. Many Super 8 cameras also feature built-in light meters, which help gauge the appropriate exposure settings based on the lighting conditions, further enhancing the ease of use for budding filmmakers. Understanding these components not only aids in better filming but also deepens your appreciation for the craftsmanship behind these iconic devices.
The Importance of Proper Focus in Film Photography
Achieving proper focus is crucial for film photography. A sharply focused image can convey the intended emotion and message effectively. Conversely, an out-of-focus shot can detract from storytelling, rendering beautiful scenes nearly useless. Thus, knowing how to focus your Super 8 camera correctly is imperative. This involves not just adjusting the focus ring but also understanding the distance of your subject and the depth of field, which can dramatically alter the visual impact of your film.
Moreover, the tactile experience of focusing a Super 8 camera adds a layer of engagement that digital formats often lack. The act of manually adjusting focus encourages filmmakers to be more deliberate in their shot composition, fostering a deeper connection to the art of filmmaking. As you become more familiar with the nuances of your camera, you’ll find that mastering focus can transform ordinary moments into extraordinary cinematic experiences, allowing you to tell your story with precision and artistry.
Preparing Your Super 8 Camera for Use
Preparation is key when it comes to using your Super 8 camera. It involves checking its condition, loading the film correctly, and adjusting the camera settings for optimal performance.

Checking the Camera’s Condition
Before shooting, inspect your camera thoroughly. Look for any visible damage, such as scratches on the lens or cracks in the body. Check for any battery corrosion if your camera uses batteries; ensure they are working effectively.
Additionally, test the sound of the motor. A smooth, quiet operation is typically a good sign, while any grinding or unexpected noises may indicate maintenance is needed. It’s also wise to check the viewfinder for clarity; any fogging or dirt could hinder your ability to frame shots accurately. If you notice any issues, consider cleaning the lens and viewfinder with a microfiber cloth to ensure optimal visibility.
Loading the Film Correctly
Loading the film into your Super 8 camera is a straightforward but vital step. Open the film compartment carefully. Depending on the camera model, it may involve pressing a button or sliding a latch. Insert the film cartridge securely, ensuring the film aligns with the take-up spool.
Close the compartment once the film is in place, and ensure there are no light leaks that could expose the film prematurely. Always refer to your camera’s manual for specific instructions tailored to your model. It can also be beneficial to practice loading the film in a well-lit environment before your shoot, as this will help you become familiar with the process and reduce the chances of errors when you’re out in the field. Remember, handling the film with care is crucial, as fingerprints or dust can affect the quality of your footage.
Setting Up the Camera’s Settings
Once the film is loaded, it’s time to set up your camera’s settings. Adjust the shutter speed and aperture according to your shooting environment and lighting conditions. Lower light situations may require a wider aperture to let in more light, while bright outdoor conditions may need a smaller aperture.
Additionally, if your camera has a feature for adjusting ISO or film speed, make sure to set it according to the type of film you are using. Accurate settings will aid in achieving the best possible results. It’s also worth considering the frame rate at which you plan to shoot; a standard rate is 18 frames per second, but experimenting with different rates can yield interesting effects. If your camera has exposure compensation features, utilize them to fine-tune your settings based on the specific scene you’re capturing, especially in high-contrast environments where shadows and highlights may compete for attention.
Step-by-Step Guide to Focusing a Super 8 Camera
Now that you’ve prepared your Super 8 camera, it’s time to delve into the focusing process. This is where you’ll refine your ability to capture sharp images.

Identifying the Focus Ring
The focus ring is a crucial component of most Super 8 cameras. It is typically located around the lens and can be moved manually. Knowing how to locate and use this ring is crucial for achieving focus. Depending on the model of your Super 8 camera, the focus ring may have a textured grip to facilitate easy adjustments, even when you’re in the middle of a shoot. Familiarizing yourself with the tactile feel of the ring can enhance your shooting experience, allowing you to make quick adjustments without taking your eye off the viewfinder.
Understanding the Focus Scale
Many Super 8 cameras feature a focus scale marked with distance measurements. Familiarizing yourself with these markings can greatly enhance your focus skills. Knowing how far away your subjects are helps tremendously when setting focus manually. Additionally, some cameras may include color-coded sections on the focus scale, indicating optimal focus ranges for different types of shots. Understanding these nuances can help you make more informed decisions about your focus settings, especially in dynamic shooting environments where subjects may be moving.
Adjusting the Focus for Different Distances
As a general rule, subjects that are farther away will require adjustments to the focus ring. For close-ups, you may need to turn the focus ring towards the wider end of the scale. Conversely, focusing on distant objects will require you to adjust it toward the far end. It’s worth noting that the depth of field can also play a significant role in how sharp your images appear. A wider aperture can create a shallower depth of field, which means you’ll need to be more precise with your focus adjustments to ensure your subject remains sharp while the background blurs beautifully.
Tips for Achieving Sharp Focus
Here are a few tips to consider for achieving sharp focus:
- Use the viewfinder to check focus. Ensure the subject appears sharp through the viewfinder before beginning your shot.
- Practice focusing in varying lighting conditions to develop a better intuition for it.
- Take test shots when possible; reviewing them can help you understand how to improve your focus skills.
Additionally, consider using a tripod or stabilizer when shooting, as camera shake can significantly affect focus, especially in low-light situations. A steady shot allows for more precise adjustments and helps maintain focus on your subject. Furthermore, if you’re working with moving subjects, anticipate their motion and adjust the focus accordingly. This proactive approach can save you from missing that perfect shot, ensuring your footage remains crisp and engaging.
Troubleshooting Common Focus Issues
Inevitably, as you shoot with a Super 8 camera, you may experience focus-related challenges. Understanding common problems and how to address them is essential for improving your photography.
Dealing with Blurry Images
Blurry images can result from several factors, including camera shake or incorrect focus. To mitigate this, ensure your camera is stable during shooting. Using a tripod can significantly reduce any unintended movement.
Overcoming Focus Hunting
Focus hunting occurs when the camera’s focus shifts between subjects or constantly adjusts. This often happens in low light or with fast-moving subjects. If this issue arises, consider manually adjusting the focus instead of relying on automatic settings.
Addressing Back Focus Problems
Back focus issues happen when the focus point shifts inappropriately relative to the subject. If your subjects appear soft, review the calibration of your lens. You may need to consult your camera’s manual for adjustments or reach out to a professional for servicing.
By understanding these concepts and applying the step-by-step process outlined in this guide, you will be well on your way to mastering focus in your Super 8 filmmaking efforts. Enjoy the process of capturing moments and crafting stories!


