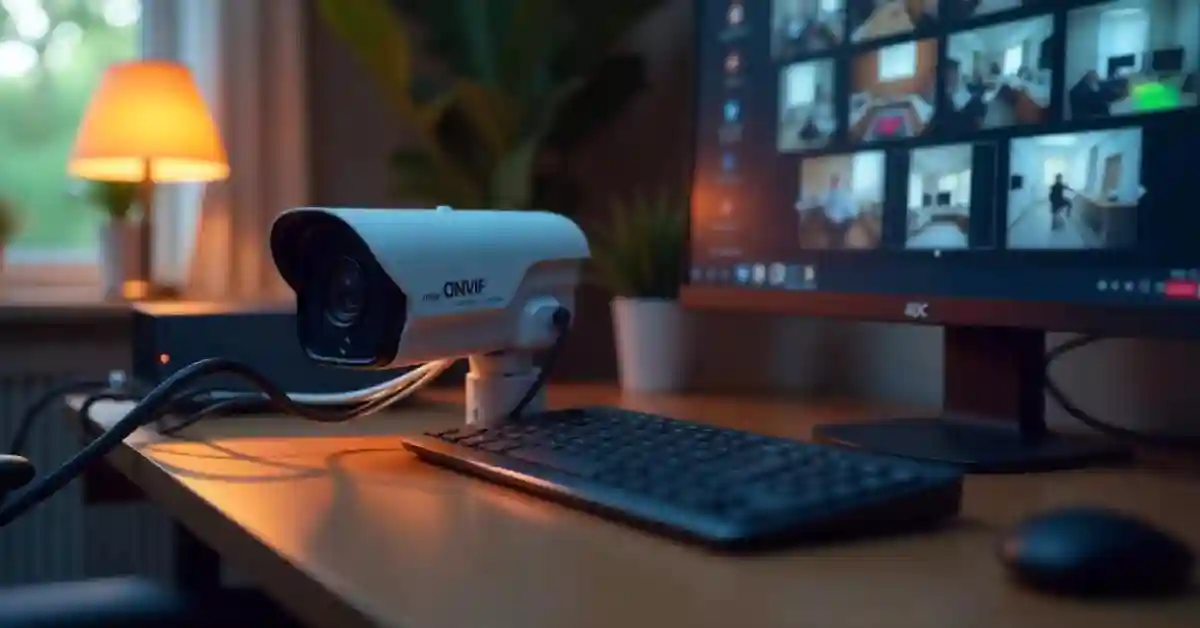
Setting up video surveillance systems has become increasingly popular for both residential and commercial properties. One of the most efficient ways to enhance security is by integrating ADC ONVIF cameras with a Network Video Recorder (NVR). This guide will walk you through the process step-by-step, ensuring a smooth installation and setup.
Understanding ADC ONVIF Cameras and NVRs
Before diving into the installation process, it’s crucial to understand what ADC ONVIF cameras and NVRs are and how they work together in a surveillance system.
What is an ADC ONVIF Camera?
An ADC ONVIF camera is a type of IP camera compliant with the ONVIF (Open Network Video Interface Forum) standard. This means it is capable of communicating with software and hardware from various manufacturers, providing versatile options for users.
These cameras come equipped with features like high-definition video quality, remote access, and advanced motion detection. The ONVIF compliance ensures that users can easily integrate these cameras with different NVRs and video management software, making them a popular choice for surveillance systems. Additionally, many ADC ONVIF cameras offer night vision capabilities, allowing for clear footage in low-light conditions, which is crucial for monitoring premises during nighttime hours. The ability to pan, tilt, and zoom (PTZ) also enhances the functionality of these cameras, enabling users to cover larger areas and focus on specific points of interest as needed.
The Role of NVR in Surveillance Systems
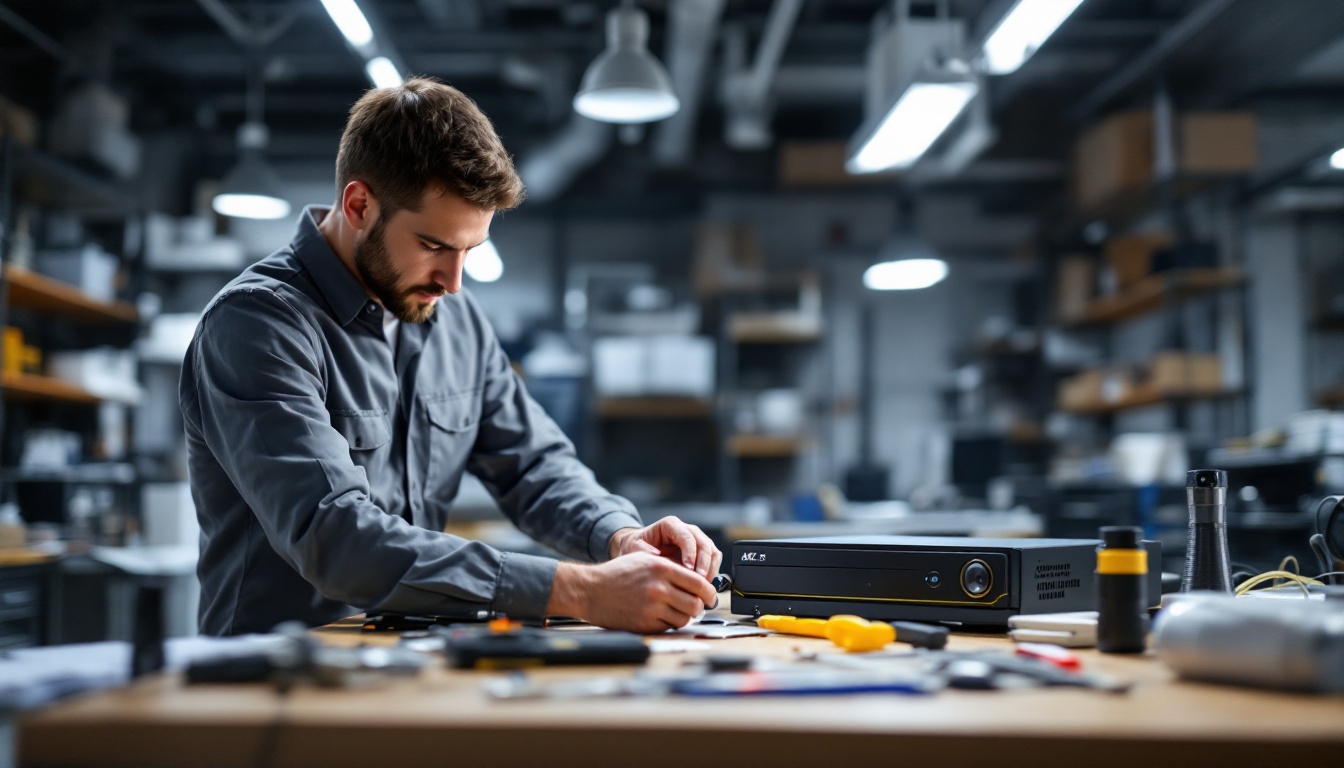
A Network Video Recorder, or NVR, is an essential device in video surveillance systems. It is responsible for recording, storing, and managing the video feeds captured by IP cameras, such as ADC ONVIF cameras.
Unlike traditional DVRs (Digital Video Recorders), which work primarily with analog cameras, NVRs operate exclusively with IP cameras. This allows for higher resolution footage, more flexible storage options, and more efficient remote viewing capabilities. Furthermore, NVRs often come with advanced features such as motion-triggered recording, which conserves storage space by only recording when movement is detected. Some models also support cloud storage solutions, providing an added layer of security and accessibility for users who wish to access their footage from anywhere in the world. With the integration of AI technology, modern NVRs can even offer intelligent video analytics, such as facial recognition and object detection, enhancing the overall effectiveness of surveillance systems.
Preparing for the Installation Process
With a foundational understanding of ADC ONVIF cameras and NVRs established, it’s time to prepare for the installation process. Proper preparation is crucial for a successful setup.
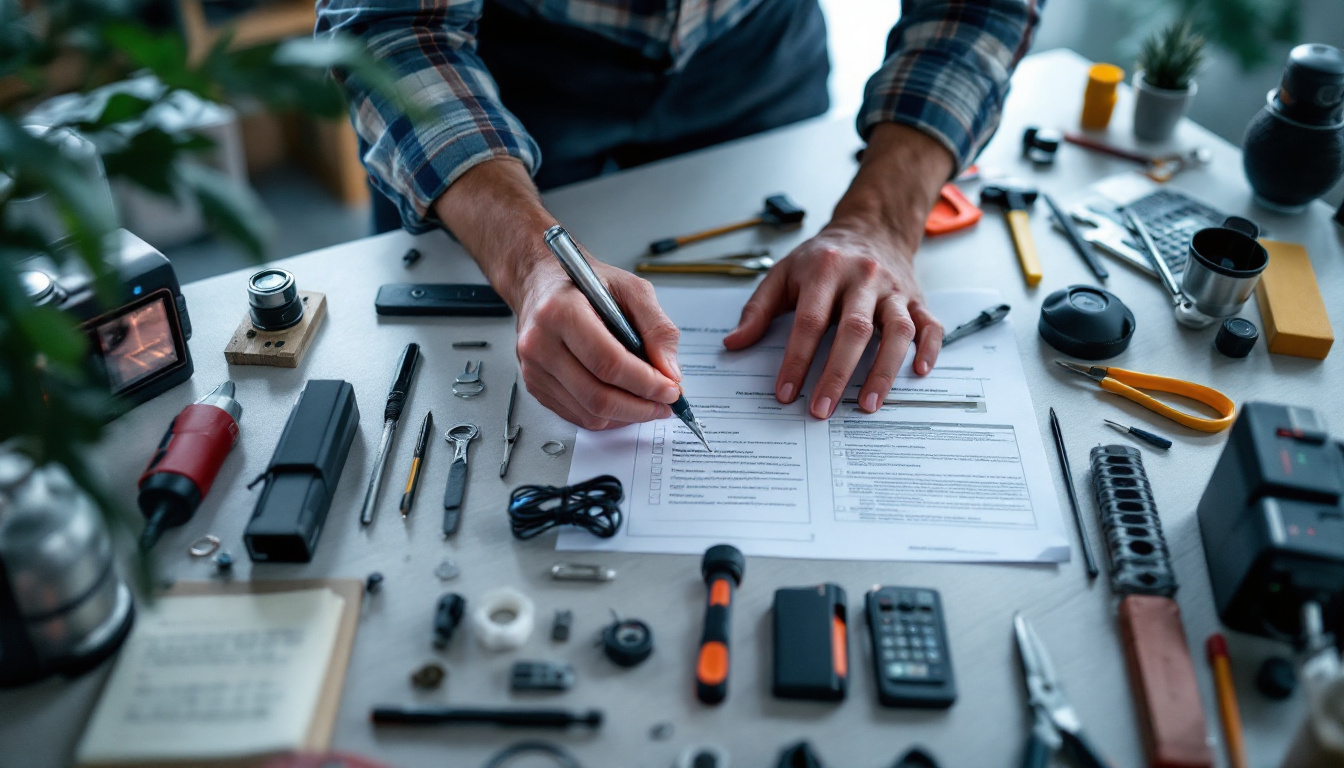
Necessary Equipment and Tools
Before starting, gather all necessary equipment and tools for the installation. Here is a list to ensure you have everything you might need:
- ADC ONVIF Camera(s)
- NVR unit
- Ethernet cables
- Power supply for cameras
- Router with sufficient bandwidth
- Computer or mobile device for configuration
- Screwdriver and mounting hardware
Having all these tools and equipment on hand will streamline the installation process, minimizing delays and frustrations. Additionally, consider having a network switch on hand if you plan to connect multiple cameras, as this can help manage bandwidth more effectively. It’s also wise to have cable ties or clips to organize your wiring neatly, which not only improves aesthetics but also prevents potential hazards caused by loose cables.
Safety Measures to Consider
As with any electrical installation, safety should be a priority. Here are some safety measures to consider:
- Ensure that the power supply is turned off when connecting the camera to power.
- Use insulated tools to prevent electric shock.
- Be cautious when mounting cameras at heights, ensuring a sturdy ladder is used.
- Check weatherproofing if installing outdoor cameras.
By following these precautions, you can help ensure that your installation process goes smoothly and safely. Furthermore, it’s beneficial to familiarize yourself with the specific installation guidelines provided by the manufacturer, as different models may have unique requirements or recommendations. If you’re working in an area prone to extreme weather conditions, consider investing in additional protective housing for your cameras to extend their lifespan and maintain functionality. Always keep a first aid kit nearby, just in case of any minor accidents during the installation process.
Step-by-Step Guide to Adding ADC ONVIF Camera to NVR
Now that you are prepared, it’s time to delve into the step-by-step guide for adding your ADC ONVIF camera to the NVR.
Connecting the Camera to the Network
Start by physically connecting your ADC ONVIF camera to the network. This can be done either through direct Ethernet cable connection to the NVR or through a wireless connection.
If using a wired connection, plug the Ethernet cable into the camera and connect the other end to the NVR or router. For a wireless setup, access the camera’s settings using a computer or mobile device to connect it to your Wi-Fi network. Make sure that the camera is within range of the router to ensure a stable connection. Additionally, check for any firmware updates for your camera that may enhance performance or connectivity options.
Configuring the NVR Settings
Once the camera is connected to the network, turn on the NVR and log into the management interface using a web browser or dedicated application.
In the settings menu, navigate to the camera configuration section. Here, you may need to add a new camera. Select the ONVIF protocol to ensure compatibility with your ADC camera. You might be required to enter the camera’s IP address, which can often be found on the camera’s interface or your network’s IP configuration. It’s also advisable to assign a static IP address to your camera to avoid any connectivity issues in the future, as dynamic IP addresses can change and lead to disconnection from the NVR.
Adding the Camera to the NVR
After configuring the settings, proceed to add the camera to the NVR. Look for an option to detect connected devices or manually add an IP camera. Follow any prompts to input necessary information such as the username and password set during the camera installation.
Once added, the camera feed should start to display on the NVR interface. Test the video feed to ensure that everything is working correctly. If successful, you are now ready to finalize the setup. Additionally, consider adjusting the camera’s settings for resolution, frame rate, and motion detection parameters to tailor the surveillance experience to your specific needs. This customization can greatly enhance the effectiveness of your security system, ensuring that you capture high-quality footage and receive timely alerts when motion is detected.
Troubleshooting Common Issues
Sometimes, even with careful preparation and installation, problems may arise. Here are some common issues and how to troubleshoot them.

Camera Not Detected by NVR
If your ADC ONVIF camera is not detected by the NVR, first check the physical connections to ensure everything is plugged in correctly. Next, verify that the camera and NVR are on the same network. If using Wi-Fi, ensure that the camera is properly connected to the correct Wi-Fi network.
Reboot both the camera and the NVR to refresh the connection. If issues persist, you might need to check firewall settings or consult the camera’s manual for reset options. Additionally, ensure that the firmware of both the camera and NVR is up to date, as outdated software can lead to compatibility issues. Sometimes, the camera may require a specific configuration setting to be recognized by the NVR, so reviewing the setup instructions provided by the manufacturer can be beneficial.
Video Feed Interruptions
Interruptions in video feed can be frustrating. First, examine your network bandwidth to ensure it is adequate for your camera setup. Overloading your network can cause lagging or interruptions.
Check for obstructive materials causing interference with wireless signals if you’re using a wireless connection. Incorporating a wired connection can sometimes resolve these issues, providing a more stable feed. Furthermore, consider the placement of your camera; positioning it too far from the router or in a location with physical barriers can degrade the signal. If the problem continues, you might want to invest in a signal booster or range extender to enhance the wireless coverage, ensuring a clearer and more reliable video stream. Regularly monitoring your network performance can also help identify any potential bottlenecks that may affect your camera’s functionality.
Maintaining Your ADC ONVIF Camera and NVR System
After setup, regular maintenance is crucial for the longevity of your surveillance system. Here’s how to keep your system in top shape.
Regular System Checks
Perform routine checks on your ADC ONVIF cameras and NVR to ensure everything is functioning correctly. Regularly verify video feeds, camera angles, and storage capacity. Staying proactive can help identify issues before they escalate.
Software Updates and Upgrades
Keep your NVR and camera firmware updated. Manufacturers often release updates that enhance performance, fix bugs, and improve security features. Check for updates regularly and apply them as needed to maintain the best possible operation.
Cleaning and Care Tips for Your Camera and NVR
Maintenance also includes keeping the camera lenses clean and the NVR unit dust-free. Use a soft microfiber cloth to gently clean camera lenses. Ensure that the NVR is kept in a well-ventilated area to prevent overheating.
By following these maintenance tips, you can ensure the effective performance of your ADC ONVIF camera and NVR system for years to come.