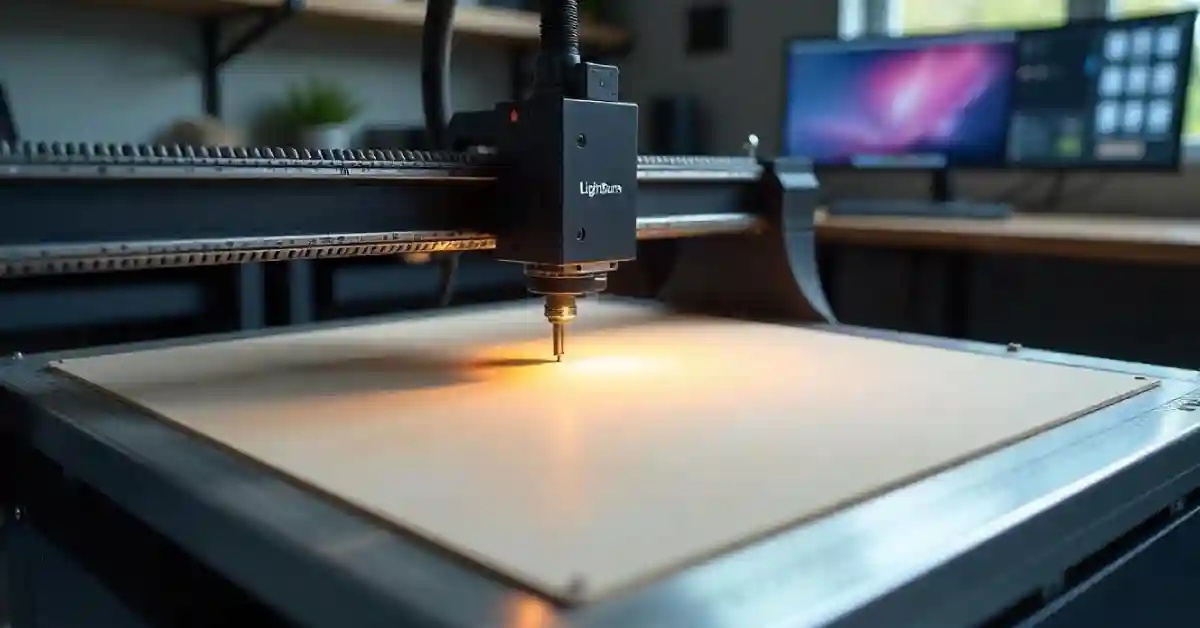
In the world of laser cutting and engraving, having a well-optimized camera system is crucial for achieving precision and efficiency. LightBurn, a popular laser software, offers a robust camera integration feature that enhances the capability of your laser machine, especially when working with an 812mm x 812mm bed size. This article will explore the fundamentals of the LightBurn camera, guide you through the optimization process, and provide maintenance tips to keep your setup running smoothly.
Understanding the Basics of LightBurn Camera
The LightBurn camera is designed to enable users to precisely align their artwork with the physical workspace of their laser cutter. By capturing high-quality images of the work area, the camera helps users set up designs accurately on the bed, streamlining the engraving or cutting process. This capability is particularly beneficial for those who work with intricate designs or multiple layers, as it allows for a more intuitive approach to positioning artwork.
It uses advanced imaging technology to give precise feedback about the location of designs relative to the material being processed. Optimizing your camera setup is essential to leverage these capabilities fully, especially when working with larger dimensions, such as the 812mm x 812mm bed size. Users can also benefit from the ability to save camera settings for different materials or project types, making it easier to switch between tasks without losing valuable time on setup.
Key Features of LightBurn Camera
The LightBurn camera comes equipped with several key features that enhance its functionality. First, it offers a high-resolution image capture, which is vital for detailed work. The clarity of the images allows users to see even the smallest details, ensuring that every element of the design is accurately represented. Second, the camera is designed for flexibility, allowing users to position it in various orientations depending on their workspace layout. This adaptability is crucial for users with limited space or those who frequently change their setups.
Additionally, the software integration allows for real-time processing, displaying the live feed of the workspace to ensure that designs are placed accurately. This feature is particularly useful during complex projects where adjustments may need to be made on the fly. Other features include distortion correction, which is particularly valuable for maintaining alignment on larger work surfaces. This correction ensures that the images captured are true to scale, preventing any discrepancies that could affect the final output.
Importance of Proper Camera Optimization
Proper camera optimization ensures that the software can accurately interpret the images captured by the camera. Without correct alignment and settings, users may experience misalignments, distorted images, or unreliable readings from the camera feed. Misalignment can lead to wasted materials and time, undermining the efficiency of projects. Furthermore, understanding the nuances of lighting conditions in the workspace can also play a significant role in the camera’s performance, as shadows or reflections can interfere with image clarity.
Moreover, an optimized camera can significantly improve workflow, reducing the need for manual adjustments and allowing users to focus on creativity and design rather than troubleshooting technical issues. The ability to quickly and accurately position designs not only enhances productivity but also fosters a more enjoyable creative process. As users become more familiar with their camera’s capabilities, they can explore more complex projects with confidence, knowing that their setup will support their artistic vision effectively.
Preparing Your Workspace for Optimization
Before diving into the optimization process, it’s essential to adequately prepare your workspace. A clutter-free, well-organized area enhances the efficiency of optimization efforts. It is also vital to ensure that your camera has a clear view of the workspace without obstructive objects. This means not only removing unnecessary items from your immediate vicinity but also arranging your tools and materials in a manner that promotes easy access and workflow. Consider using storage solutions like pegboards or toolboxes to keep everything in its designated place, which can significantly reduce time spent searching for items during critical moments.
Having a good understanding of your laser cutter’s setup and ensuring all tools are within reach will streamline your workflow, allowing for a more productive optimization process. Familiarize yourself with the layout of your equipment and the specific requirements of your projects. By anticipating the steps you will need to take, you can minimize interruptions and maintain a steady pace. Additionally, consider creating a checklist of tasks to complete during the optimization process, which can help keep you focused and organized as you work through each phase.
Necessary Tools for Camera Optimization
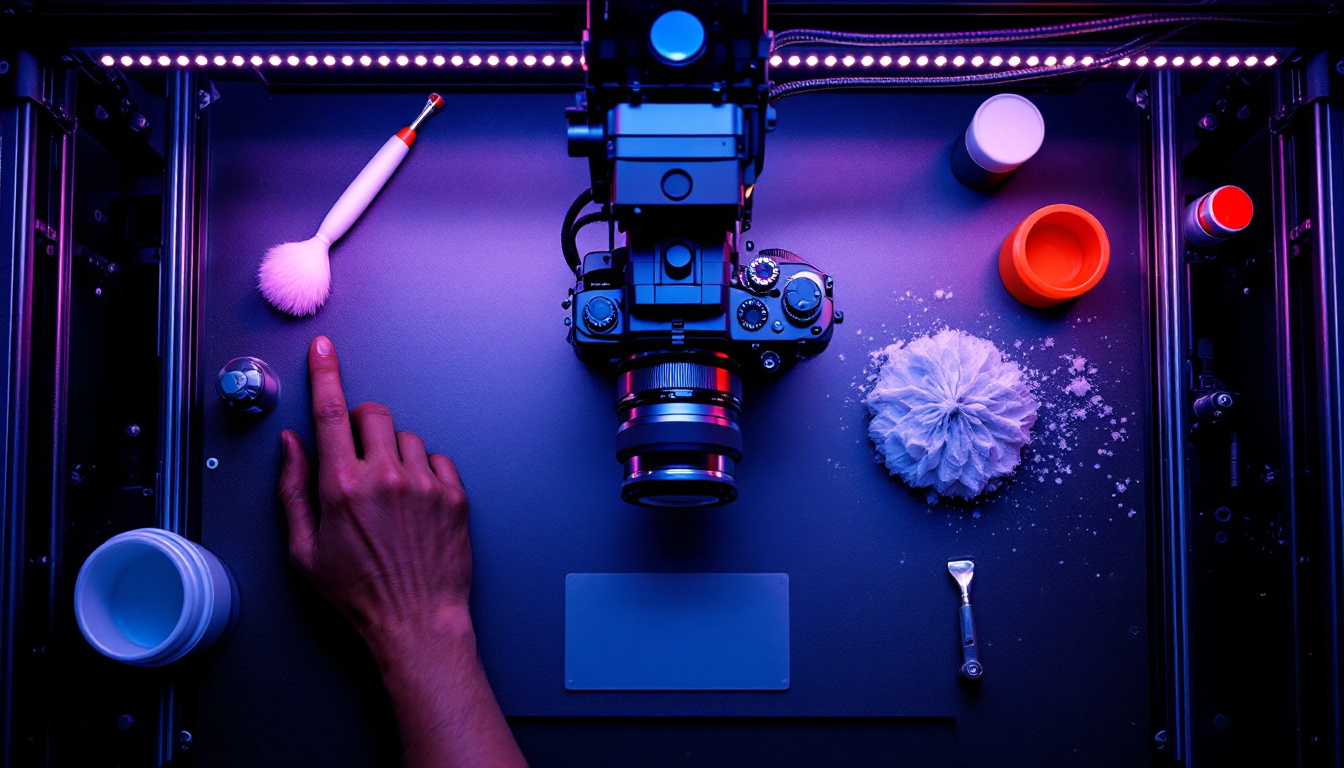
For a successful optimization of your LightBurn camera, you’ll need a few necessary tools. These include a measuring tape or ruler to ensure accurate positioning, a spirit level to check that your camera is correctly aligned, and a computer with the LightBurn software installed. A clean microfiber cloth for the camera lens is also essential to avoid image distortion due to dirt or smudges. It’s worth noting that the quality of the images captured by your camera can significantly impact the effectiveness of your optimization, so taking the time to ensure everything is in perfect condition is crucial.
Additionally, having a light source will facilitate better image quality, so consider placing adjustable lighting around your workspace. Natural light can be beneficial, but it may not always be available or consistent, so having artificial lighting that can be adjusted for brightness and direction will help maintain optimal conditions. Keeping these tools handy during the optimization process will help save time and ease your efforts. Moreover, consider investing in a camera stand or mount that allows for precise adjustments; this can make a world of difference in achieving the perfect angle and focus for your camera setup.
Safety Measures to Consider
When working with laser equipment and cameras, safety is paramount. Always wear appropriate eye protection when operating laser systems. Ensure that your work area has proper ventilation to avoid inhaling any harmful fumes produced during cutting or engraving. It’s also wise to have a fire extinguisher nearby, as a precaution against any unforeseen incidents that could arise from the laser cutting process. Familiarize yourself with the emergency procedures specific to your workspace, and make sure that all safety equipment is easily accessible.
Additionally, keep your workspace tidy and organized to prevent accidents. When working with tools and the camera setup, be cautious of cables and other potential trip hazards. Regularly check for any frayed wires or malfunctioning equipment that could pose a risk. Following these safety measures will help ensure a safe and efficient optimization process. Remember to take breaks and step away from your workspace periodically; this not only helps reduce fatigue but also allows you to return with a fresh perspective, which can be invaluable when troubleshooting any issues that may arise during your optimization efforts.
Step-by-Step Guide to Optimize LightBurn Camera
Now that you have prepared your workspace adequately, it’s time for the optimization process. This step-by-step guide will help you set up and calibrate your LightBurn camera effectively for the 812mm x 812mm bed size.
Setting Up the Camera
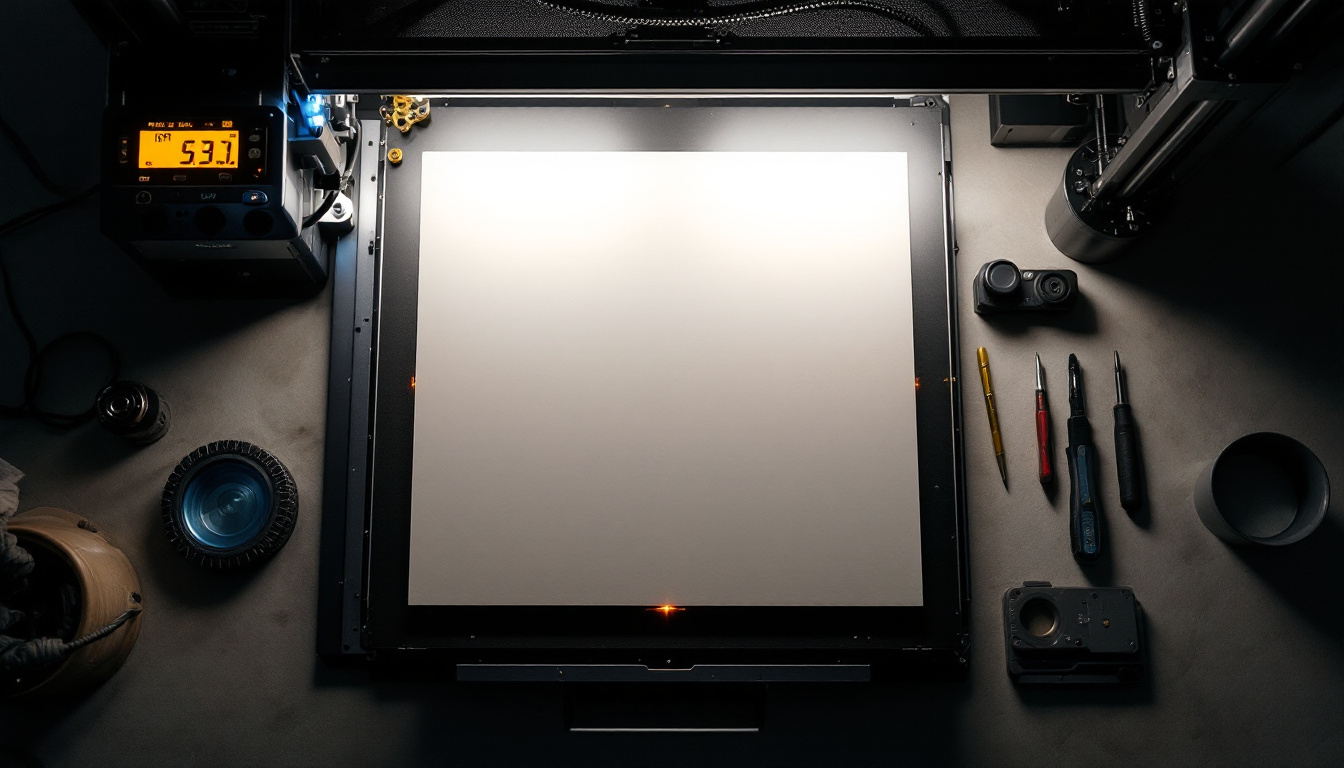
Begin by mounting the camera securely above your work area. It should be positioned centrally for optimal coverage. Use a spirit level to ensure that the camera is perfectly horizontal.
Once the camera is mounted, connect it to your computer and launch the LightBurn software. Navigate to the camera settings within the application. Here, you will find options to calibrate the camera to ensure it accurately captures the area of your bed size.
Adjusting Camera Settings for 812mm x 812mm Bed Size
Next, you’ll want to adjust the camera settings specifically for your bed size. Within LightBurn, select the calibration option and follow the guided steps. You’ll be asked to define the bed dimensions, in this case, 812mm x 812mm.
Make sure to perform the calibration marks accurately on a piece of material that matches your workpiece. This process will involve capturing images and adjusting the camera settings until the distortion is minimized and the alignment is correct. Pay close attention to the feedback from the software to achieve the best results.
Troubleshooting Common Issues
Even with careful setup, you may encounter some common issues during or after the optimization process. Here are a few troubleshooting steps to consider if problems arise.
Dealing with Image Distortion
If you notice distortion in the images captured by your LightBurn camera, it’s often a sign that calibration is not properly set. Ensure that the camera lens is clean and that the camera is level. Revisit the calibration steps and adjust the settings to reduce any distortions in the captured images.
Consider recalibrating with different materials as a test, as the quality of the material can sometimes impact imaging. Ensuring that your workspace is well-lit can also aid in reducing image distortion.
Solving Alignment Problems
Alignment issues often stem from incorrect camera positioning or calibration settings. Take the time to double-check the physical setup of the camera in relation to the bed. Confirm that the defined bed size in LightBurn matches the actual dimensions of your workspace.
If alignment consistently proves to be problematic, consider running through the optimization process again. Sometimes, starting fresh can help clear up any lingering discrepancies that may be affecting performance.
Maintaining Your Optimized LightBurn Camera
Once you have achieved a well-optimized camera setup, it’s essential to maintain that standard. Regular maintenance will not only prolong the life of your camera but will also ensure optimal performance moving forward.
Regular Checks and Adjustments
Make it a habit to regularly check the camera for dust or dirt on the lens, as this can affect the quality of the images captured. Periodic re-calibration may also be necessary if you notice any changes in performance or accuracy when using the camera.
Additionally, ensure that the cables and connections are secure and not subject to wear or damage over time. Regularly inspect the mounting stability of the camera to ensure it has not shifted from its optimal position.
Long-term Care Tips for Your Camera
For long-term care, store your camera and associated cables in a safe environment when not in use to avoid physical damage. Keep the software up-to-date to benefit from any improvements and bug fixes released by the developers.
Following these long-term care tips will help maintain the longevity and performance of your LightBurn camera, ensuring it continually meets your project needs.