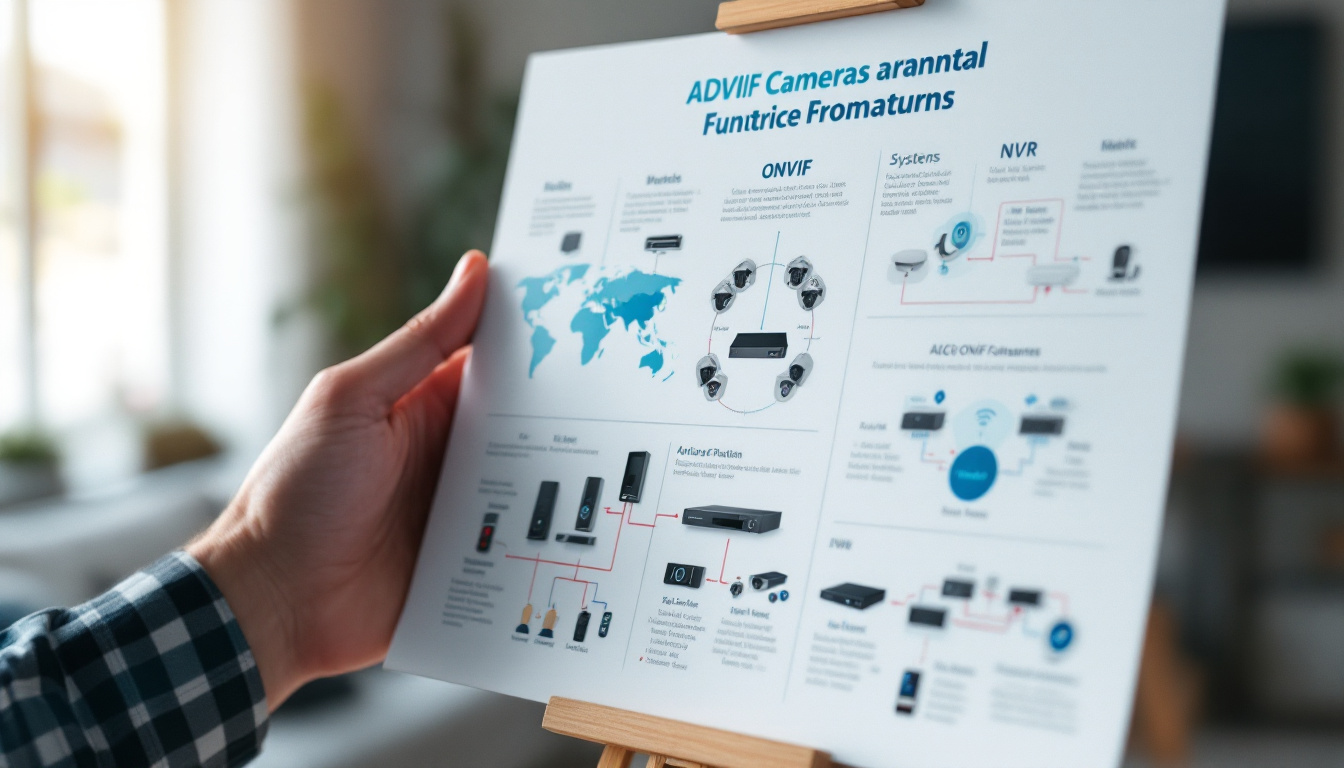
Adding an ADC ONVIF camera to your Network Video Recorder (NVR) can enhance your security system by providing high-quality video feeds. The process might seem daunting at first, but with a clear understanding of the components and a step-by-step guide, you can achieve this task with ease. This article will walk you through every important detail to ensure success in your installation process.
Understanding ADC ONVIF Cameras and NVRs
Before diving into the installation, it’s essential to grasp the basic functions of ADC ONVIF cameras and NVRs. Understanding these components will help you troubleshoot and maintain your surveillance system effectively.
Defining ADC ONVIF Cameras
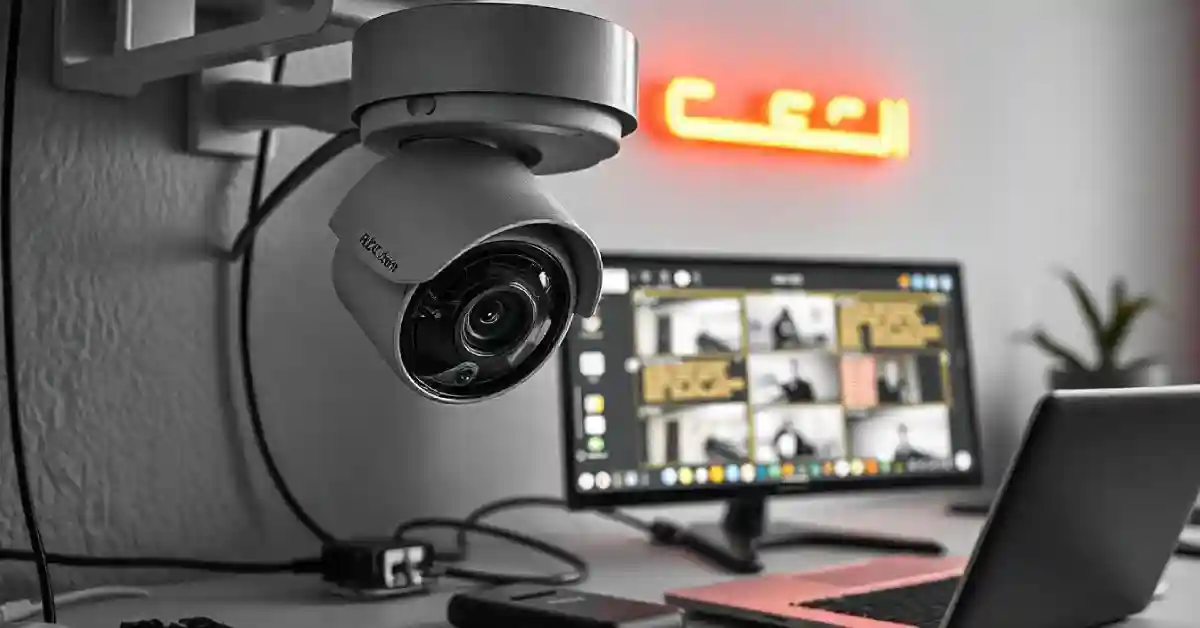
ADC ONVIF cameras are security cameras that comply with the ONVIF (Open Network Video Interface Forum) standard. This means they are developed to interoperate with other ONVIF-compliant devices, enhancing their flexibility and compatibility across various surveillance systems.
These cameras can come in various forms, such as dome cameras, bullet cameras, or PTZ (pan-tilt-zoom) models. Choosing the right type depends on your surveillance requirements, such as coverage area, image quality, and specific functionality — like night vision or motion detection. For instance, dome cameras are often preferred for indoor settings due to their discreet design, while bullet cameras are more suitable for outdoor use, providing a clear line of sight and often featuring weather-resistant casings. Furthermore, the integration of advanced technologies such as infrared illumination and high-definition video capture has significantly improved the effectiveness of these cameras in various lighting conditions.
The Role of NVRs in Surveillance Systems
A Network Video Recorder (NVR) is a critical component of modern surveillance systems. It records and manages video footage from IP cameras, including ADC ONVIF cameras. Unlike traditional DVRs, NVRs transmit data over a network, allowing for remote access and centralized management.
Additionally, NVRs can often support multiple camera feeds, enabling broader surveillance capabilities. They can be configured to support various resolutions, frame rates, and recording schedules, ensuring that you capture the most pertinent footage. Many NVRs also come equipped with advanced features such as motion detection alerts, cloud storage options, and user-friendly interfaces that allow for easy playback and review of recorded footage. This functionality not only streamlines the monitoring process but also enhances the overall security strategy by allowing users to quickly respond to incidents as they arise. Moreover, the integration of artificial intelligence in some modern NVRs can facilitate smart analytics, such as facial recognition and behavior analysis, providing an additional layer of security and operational efficiency.
Preparing for the Installation Process
Efficient installation of your ADC ONVIF camera requires careful preparation. Proper planning and organization can save you time and ensure success.
Necessary Equipment and Tools
To successfully install your ADC ONVIF camera, you need to gather the following tools and equipment:
- ADC ONVIF Camera
- NVR compatible with ONVIF
- Ethernet cables
- Power supply for the camera
- Network switch (if needed)
- Drill and mounting brackets
- Computer or mobile device for configuration
Having all this equipment at hand will streamline the process and minimize interruptions. It’s also worthwhile to test all tools before the installation day. Additionally, consider having a backup plan in case of unexpected issues, such as extra cables or connectors, which can save you from unnecessary delays. Familiarizing yourself with the camera’s manual and installation guidelines can also provide valuable insights into specific requirements or features that may be unique to your model.
Safety Precautions to Consider
When installing security equipment, safety should always be a priority. Ensure you take precautions, such as:
- Wearing safety goggles while using tools.
- Using a sturdy ladder for high placements.
- Checking electrical connections for overload.
- Following all local code regulations during installation.
Moreover, consider working during daylight hours when visibility is better, and try to involve another person to assist with heavy lifting or positioning equipment. It’s also advisable to keep your workspace organized and free of clutter to prevent accidents. Before you begin, take a moment to assess the installation area for potential hazards, such as loose wires or unstable surfaces, and ensure that you have a clear path for both yourself and any equipment you’ll be moving. This proactive approach can greatly enhance your safety and efficiency during the installation process.
Step-by-Step Guide to Adding an ADC ONVIF Camera to Your NVR
With preparation complete, you can now transition into the step-by-step process to install your ADC ONVIF camera into your NVR system.
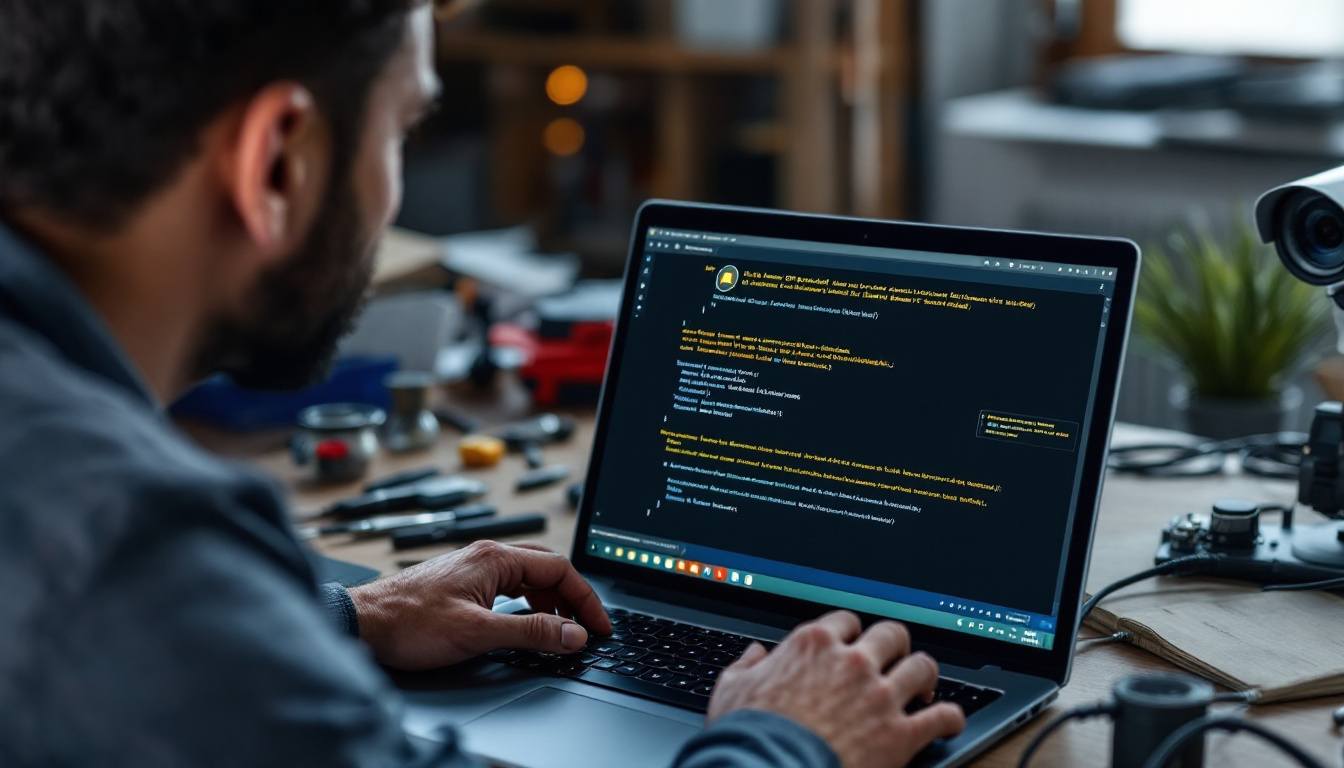
Connecting the Camera to the Network
Start by positioning your ADC ONVIF camera at the desired location. Ensure it offers the best field of view for your surveillance needs. Attach the mounting brackets and secure the camera in place. Next, follow these steps:
- Connect one end of the Ethernet cable to the camera and the other end to your network switch or router.
- If your camera requires power via PoE (Power over Ethernet), ensure your switch supports this feature.
- For non-PoE cameras, connect the camera to a power outlet using the appropriate power adapter.
Once connected, ensure that the camera powers on and begins booting up. You might see an initial LED indicator on the camera. This is a good sign that the camera is receiving power and is ready for configuration. If the LED does not light up, double-check your connections and power supply.
Before moving on, it’s also advisable to check the camera’s firmware version. Keeping your camera updated ensures you have the latest features and security patches. You can usually find this information in the camera’s settings menu, accessible through its IP address in a web browser.
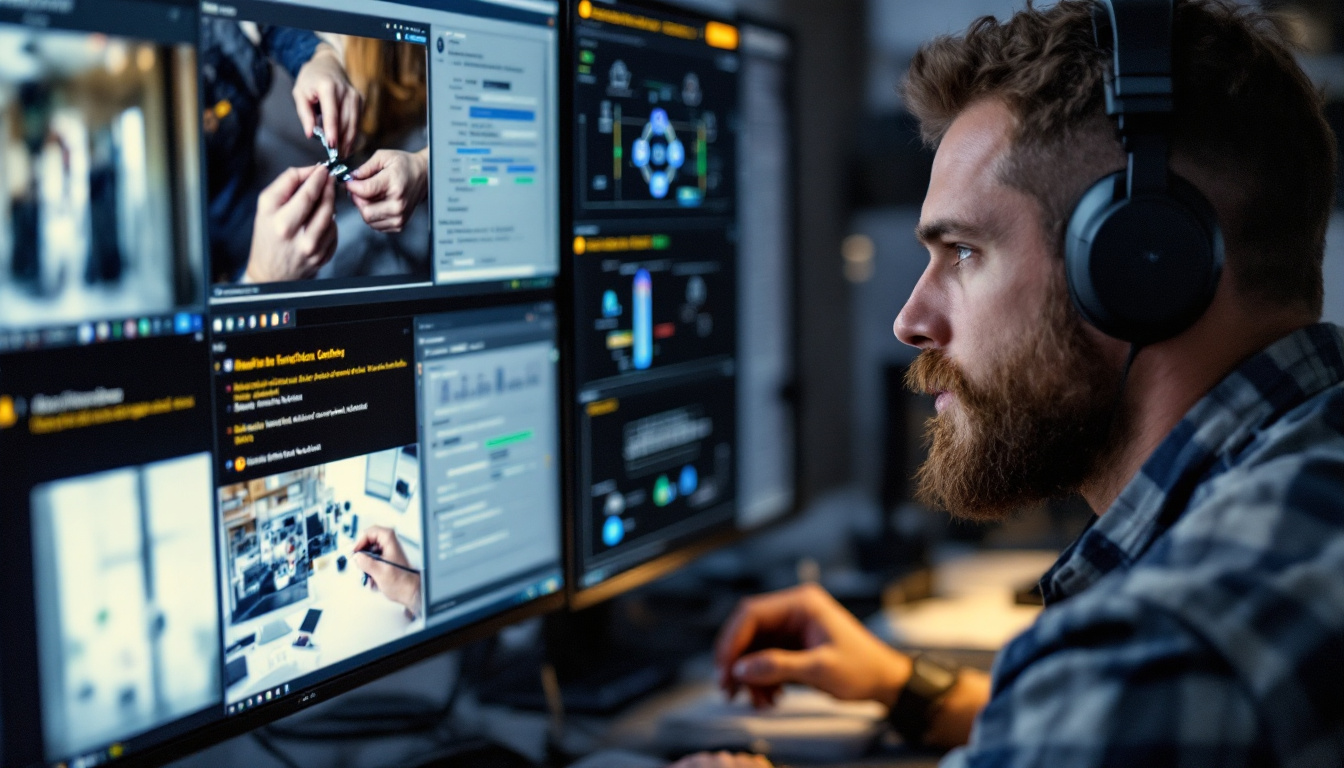
Configuring the NVR Settings
Now that your camera is connected, it’s time to configure the settings on your NVR:
- Access the NVR interface via a connected monitor or a web browser.
- Locate the ‘Add Camera’ or ‘Device Management’ section in the settings menu.
- Select the option to add an ONVIF camera.
- Input the required details, such as the camera’s IP address and port number. You may need to set the username and password for the camera as well.
After entering the settings, save the configuration and check if the NVR successfully detects the camera. If the camera does not appear, ensure that both the NVR and the camera are on the same network subnet. This is a common issue that can prevent successful communication between devices.
Additionally, consider configuring advanced settings such as motion detection zones and alerts within the NVR. These features can enhance your surveillance capabilities by allowing you to focus on specific areas of interest, reducing false alarms triggered by irrelevant movements.
Adding the Camera to the NVR
After configuring the settings, it’s time to finalize the addition of the ADC ONVIF camera:
- Verify the camera feed is appearing in the live view section of your NVR’s interface.
- Adjust the recording settings, including resolution, frame rate, and storage settings as necessary.
- Test the camera by checking the video stream and ensuring motion detection or alerts function correctly.
Once everything is set up correctly, document your configurations for future reference and troubleshooting. This documentation can be invaluable, especially if you need to add more cameras or adjust settings later on. Consider noting down the camera’s location, IP address, and any specific settings that were applied.
Moreover, it’s beneficial to regularly review the camera footage and settings to ensure everything is functioning as intended. Regular maintenance checks can help identify potential issues before they become significant problems, ensuring your surveillance system remains reliable and effective over time.
Troubleshooting Common Issues
Despite careful planning and execution, you may encounter some issues. Understanding common scenarios can help swiftly resolve problems.
Dealing with Connection Problems
If the camera is not showing up on your NVR, follow these troubleshooting tips:
- Check all cable connections to ensure they are secure.
- Verify that the camera is powered on.
- Make sure your NVR and camera are on the same network.
- Use the camera’s web interface to check for correct IP configuration.
These steps can help isolate and address connection issues effectively.
Addressing Configuration Errors
If the camera feed is not visible or the NVR shows an error message, revisit your camera and NVR settings. Look for:
- Correct IP address and port number.
- Accurate username and password authentication.
- Compatibility between the NVR and camera firmware versions.
Updating firmware on either device may resolve compatibility issues and ensure smooth operation. Always refer to the manufacturer’s guidelines when making updates.
Maintaining Your ADC ONVIF Camera and NVR System
Regular maintenance is crucial to ensure the longevity and efficacy of both your ADC ONVIF camera and NVR system. Periodic checks can help prevent larger issues down the road.
Regular System Checks and Updates
Perform routine system checks at least once every month. This includes:
- Verifying that all cameras are functioning properly.
- Checking storage space on the NVR to avoid overwriting important footage.
- Updating camera and NVR firmware to the latest versions for improved performance and security.
Regular updates keep your surveillance system secure from vulnerabilities and enhance functionality.
Cleaning and Caring for Your Camera and NVR
Physical maintenance should not be overlooked. Clean the camera lens regularly to avoid obstructions that may affect video quality. Ensure the NVR is placed in a ventilated area to avoid overheating, which can lead to hardware failures.
Using a soft, lint-free cloth is ideal for cleaning the camera lens, while checking for dust and debris accumulation can help maintain the hardware in good condition.
By following these steps, you’ll enhance the efficiency of your ADC ONVIF camera and NVR system, ensuring optimal surveillance capabilities and longevity of your investment.