Setting up a Wyze camera on a Windows 11 system can enhance your home or office security monitoring significantly. This guide will cover the necessary steps and considerations to help you integrate your Wyze camera with Windows 11 seamlessly. Whether you’re a first-time user or looking to troubleshoot issues, this comprehensive guide is designed to assist you at every step of the way.
Understanding Wyze Camera and Win11 Compatibility
Before diving into the setup process, it’s crucial to understand the compatibility between your Wyze camera and Windows 11. Wyze cameras are known for their affordability and user-friendly features, making them a popular choice for many users. They offer a range of models, from indoor cameras to outdoor options, ensuring that there is a suitable device for every monitoring need.
Windows 11 offers a modern interface and enhanced security compared to its predecessors. The integration of Wyze cameras with this operating system allows for remote viewing and management directly from your desktop or laptop. This seamless connectivity enables users to keep an eye on their homes or businesses effortlessly, whether they are working from home or on the go.
Key Features of Wyze Camera
Wyze cameras boast several key features that set them apart from other camera systems:
- High-definition video quality (1080p resolution or higher)
- Night vision capabilities for low-light conditions
- Two-way audio for communication
- Motion detection alerts sent to your smartphone
- Cloud storage options for recorded footage
These features not only enhance the security of your environment but also provide flexibility and peace of mind for users, knowing they can monitor their space efficiently. Additionally, Wyze cameras come equipped with advanced AI technology that can distinguish between people, pets, and vehicles, reducing false alerts and ensuring that users are only notified of significant events.
Overview of Windows 11
Windows 11 was designed with new features that prioritize usability, performance, and security. It includes a redesigned Start Menu, improved multitasking capabilities with Snap layouts, and enhanced Power Management, all of which complement the functionality required for running applications like Wyze.
The operating system supports various applications, including those from third-party developers, making it easy to integrate devices and software solutions effectively. Moreover, Windows 11 introduces Widgets, which provide quick access to personalized content, including real-time updates from your Wyze camera feeds, allowing you to stay informed without disrupting your workflow. This integration not only enhances user experience but also reinforces the importance of smart home technology in our daily lives.
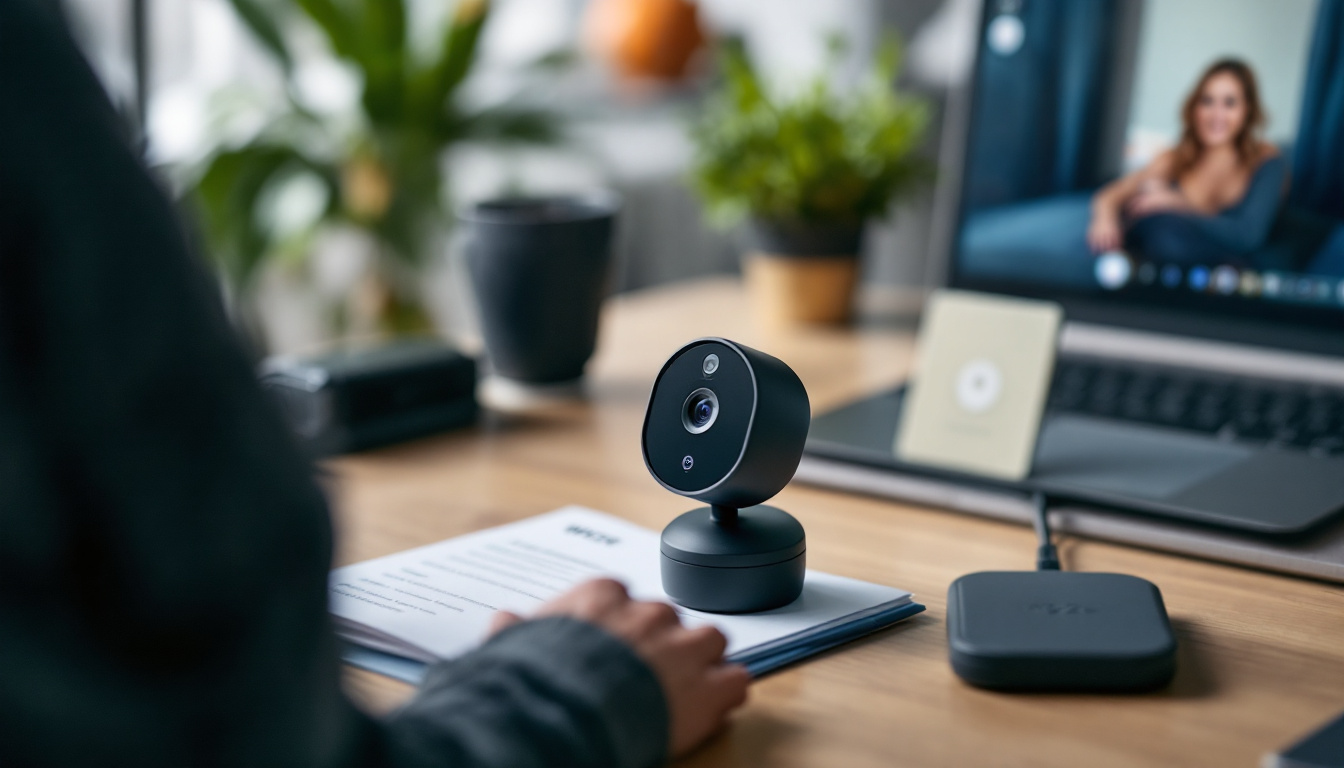
Preparing Your Wyze Camera for Connection
With an understanding of both the Wyze camera and Windows 11, the next step involves preparing your camera for connection. This preparation is key to ensuring a smooth setup process.
Checking Your Wyze Camera’s Firmware
Before connecting your Wyze camera to Windows 11, it’s essential to check that the camera’s firmware is up to date. Firmware updates can include critical security enhancements and functionality improvements.
To check the firmware version:
- Open the Wyze app on your mobile device.
- Select your camera from the device list.
- Tap on the gear icon to access settings.
- Scroll down to see the firmware version displayed in the app.
If an update is available, follow the prompts within the app to download and install it. Keeping your firmware updated not only enhances the camera’s performance but also ensures that you have access to the latest features, such as improved motion detection or enhanced night vision capabilities. Regularly checking for updates can save you from potential connectivity issues down the line and allows you to take full advantage of any new functionalities that Wyze may introduce.
Ensuring Your Wyze Camera’s Power Supply
Next, ensure that your Wyze camera is powered correctly. A reliable power supply is vital for optimal performance and connectivity.
Check the power adapter and cable for any signs of wear and tear. Ensure that the camera is plugged into an outlet that provides consistent power. Once the camera is powered on, a small light indicator should show that it’s functioning properly. Additionally, consider the placement of your camera in relation to power sources; if your camera is located far from an outlet, you might need to invest in a longer cable or a power extension. This will not only help in maintaining a stable power supply but also prevent any accidental disconnections that could interrupt your monitoring. Moreover, if your camera is outdoors, ensure that the power supply is weatherproofed to withstand environmental conditions, which can further enhance the longevity and reliability of your device.
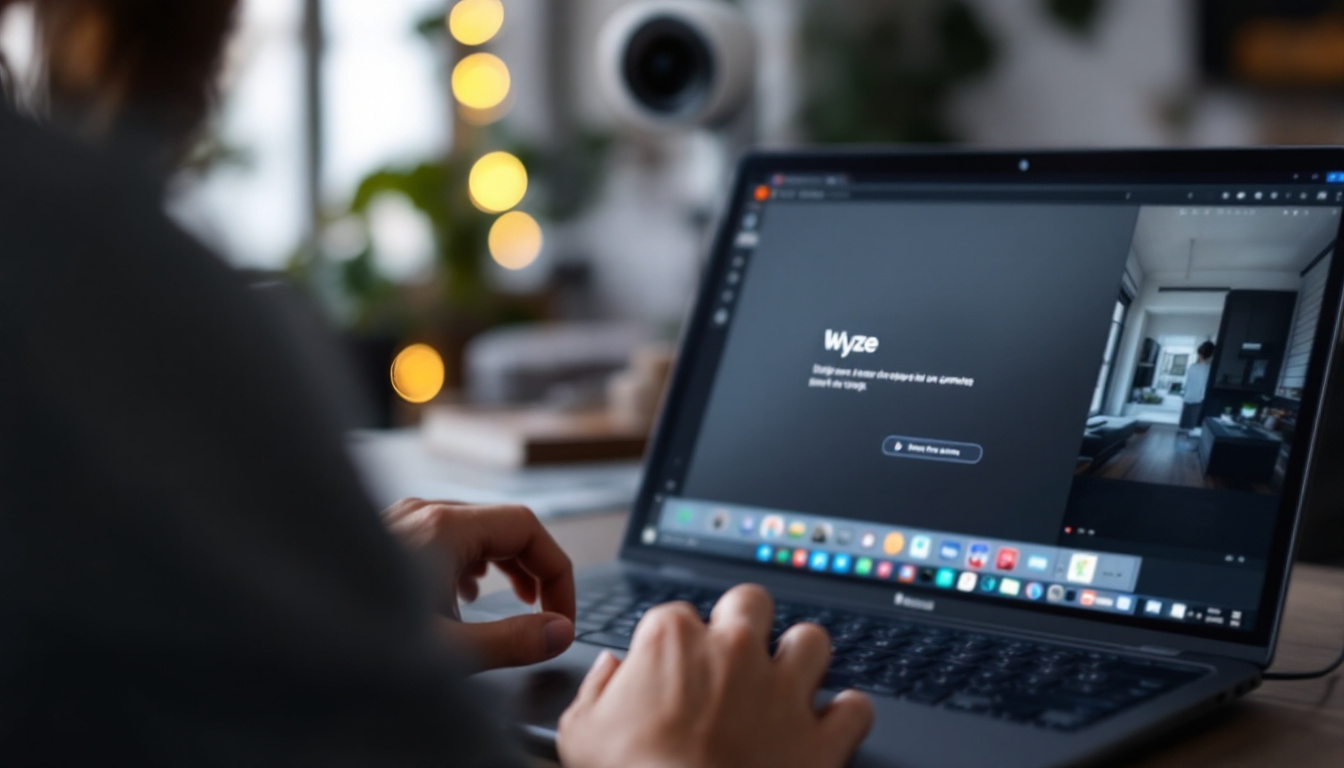
Setting Up Your Win11 for Wyze Camera
Your Windows 11 device must be ready to communicate with the Wyze camera to view live feeds or recorded footage. Let’s walk through the steps to set up your Windows environment for Wyze.
Updating Your Win11 System
Keeping your Windows 11 system updated is vital to ensure compatibility with new applications. Regular updates help in enhancing security features and improving overall performance.
To check for updates:
- Click on the Start button and navigate to Settings.
- Click on “Windows Update” from the sidebar.
- Select “Check for updates” and follow the instructions to install any pending updates.
After updating, restart your computer to ensure all changes are applied.
Additionally, it’s worth noting that Windows 11 introduces several new features and enhancements that can improve your overall experience with applications like Wyze. For instance, the new Snap Layouts feature allows for better multitasking by organizing open windows into various layouts, making it easier to monitor multiple camera feeds simultaneously. This can be particularly useful if you have multiple Wyze cameras set up around your home or office.
Installing Necessary Drivers for Wyze Camera
For your Wyze camera to connect effectively, ensure you have the necessary drivers installed. The Wyze app for Windows 11 usually handles this, but manual installation may be needed in some cases.
Visit the Wyze website to download the latest app for Windows 11, which will typically bundle in essential drivers. Follow the installation prompts and restart your computer if required after installation.
Moreover, it’s advisable to occasionally check the Wyze support page for any updates or troubleshooting tips related to drivers. Sometimes, specific camera models may require additional software or firmware updates to function optimally with Windows 11. Being proactive about these updates can help prevent connectivity issues and ensure that you are getting the best performance from your Wyze camera setup. Additionally, engaging with the Wyze community forums can provide insights from other users who may have faced similar challenges and found effective solutions.
Connecting Your Wyze Camera to Win11
With your Wyze camera prepared and your Windows 11 configured, you can now connect the devices. This section provides a step-by-step guide for successful connection.
Step-by-Step Connection Process
To connect your Wyze camera to Windows 11:
- Open the Wyze app on your device.
- Sign in to your Wyze account or create a new account if you don’t have one.
- Add your Wyze camera by selecting the “+” icon and choosing “Add Device.”
- Follow the on-screen instructions to pair the camera using your Wi-Fi network.
Once connected, you should be able to see the live feed from your Wyze camera directly on the Wyze app interface within Windows 11.
Troubleshooting Common Connection Issues
If you encounter any issues during setup, consider the following troubleshooting tips:
- Ensure that your Wi-Fi network is stable and within range of the camera.
- Restart both your camera and Windows 11 device.
- Check the Wyze app for any connectivity alerts or notifications.
- Make sure you are using the correct Wi-Fi credentials during setup.
These common checks can resolve a majority of connection problems. If issues persist, consult the Wyze online support for further assistance.
Configuring Wyze Camera Settings on Win11
After successfully connecting your Wyze camera, configuring its settings is essential for optimizing its functionality and ensuring your security needs are met.
Adjusting Camera Resolution and Frame Rate
Setting the appropriate resolution and frame rate depends on your specific monitoring needs. To adjust these settings:
- Open the Wyze app and select your camera.
- Click on the gear icon to access settings.
- Select “Video” to change the resolution and frame rate options.
Choosing the right settings can help with bandwidth management while ensuring clear video quality.
Setting Up Motion Detection and Alerts
Motion detection is a vital feature of Wyze cameras. To set up motion alerts:
- Access your camera settings through the Wyze app.
- Navigate to “Notifications” and toggle on the motion detection alerts.
- Customize the sensitivity settings as needed.
Proper configuration will ensure you receive timely notifications for any activity captured by the camera, enhancing your home or office security.
In conclusion, integrating a Wyze camera with Windows 11 can significantly elevate your surveillance capabilities. By following the outlined steps, you can ensure a smooth connection and optimal configuration, allowing you to monitor your space with ease and efficiency.